
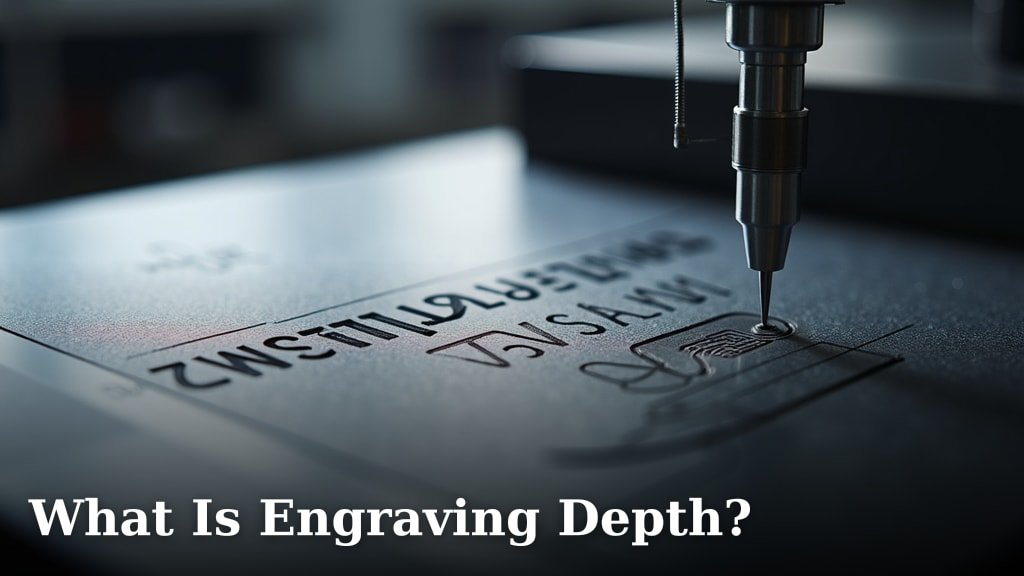
Engraving depth refers to how deeply a tool cuts into a material during the engraving process. It’s a critical measurement that directly affects the final look and durability of your engraved item. Getting the right engraving depth means your design will be visible, tactile, and last.
The correct depth depends on the material you’re working with and the desired effect. Too shallow, and the engraving might wear away quickly or be hard to see. Too deep, and you risk damaging the material or making the design look heavy. We found that balancing these factors is key to achieving professional results for any engraving project.
- Engraving depth is how deep a tool cuts.
- It’s vital for the design’s visibility and longevity.
- Depth depends on the material and desired look.
- Proper depth ensures a design is clear and durable.
Let’s dive into what engraving depth really means and how to get it just right for your next project.
Understanding Engraving Depth: How Deep Is Too Deep?
Engraving depth is essentially how far into a material your engraving tool travels. Think of it like drawing a line with a pencil. You can press lightly for a faint mark or press hard for a bold, deep line. In engraving, this ‘pressure’ translates to the depth of the cut. This depth is a key factor in how your engraved design will look and how long it will last.
Getting the depth just right ensures your engraving is not only visible but also has a pleasing tactile quality. It also plays a big role in its durability over time. Too shallow, and your beautiful design might fade away too soon or be hard to see. Too deep, and you might accidentally damage the material or create a design that looks overly heavy or even crude. We found that balancing these elements is essential for professional results on any project. The depth and darkness of the engraving depend on several factors, including your laser settings.
Why Engraving Depth Matters So Much
The depth of your engraving impacts several things. It affects the contrast of your design against the material’s surface. Deeper cuts often create stronger shadows. They can also make the design feel more permanent and substantial. Conversely, shallower engravings can appear more delicate and subtle. This choice is really about the aesthetic you’re aiming for.
Beyond looks, depth affects longevity. On items that might see a lot of wear and tear, a deeper engraving is usually better. Imagine a custom keychain versus a decorative plaque. The keychain will get bumped and scratched. A deep engraving will likely hold up better. A shallow engraving on a high-traffic item might become illegible over time. We found that for items meant to last, a good depth is a non-negotiable.
Consider the material itself. Some materials are quite soft, like certain plastics or softwoods. These can be easily damaged by deep cuts. Other materials, like hard metals or glass, can handle deeper engraving. Trying to engrave too deeply into a delicate material is like trying to carve a detailed statue out of butter – it just won’t work well. Many artists and craftspeople agree that understanding the material’s limits is fundamental.
Factors Influencing Engraving Depth Settings
Several elements come into play when deciding on the correct engraving depth. It’s not a one-size-fits-all measurement. You need to consider the type of material you are working with. The type of engraving tool or machine you are using is also important. Lastly, the desired aesthetic and the intended use of the final product play huge roles.
1. Material Properties
The material is arguably the most significant factor. Different materials have varying hardness, density, and structural integrity. For example:
- Metals (e.g., aluminum, brass, stainless steel): These are generally hard and durable. They can withstand deeper engravings without significant damage. For a bold look on brass, you might go deeper than on softer aluminum.
- Plastics (e.g., acrylic, ABS): These vary greatly. Some plastics melt easily, so shallow engraving is often best. Others are more robust. Researching your specific plastic is key.
- Wood: Softwoods engrave more easily and can take deeper cuts. Hardwoods are more resistant and might require more passes or higher power for the same depth.
- Glass and Ceramic: These are brittle. Engraving depth must be carefully controlled to avoid cracking or chipping. Shallower, more controlled passes are usually preferred.
- Leather: Soft and pliable, leather can be engraved to varying depths. Deeper cuts can create a pronounced, almost burnt-in look.
Many material guides recommend testing on a scrap piece first. This helps you understand how the material behaves under your tool. We found that this simple step saves a lot of frustration and wasted material.
2. Engraving Tool and Technology
The tool doing the engraving has a direct impact on achievable depth. Different technologies work in different ways.
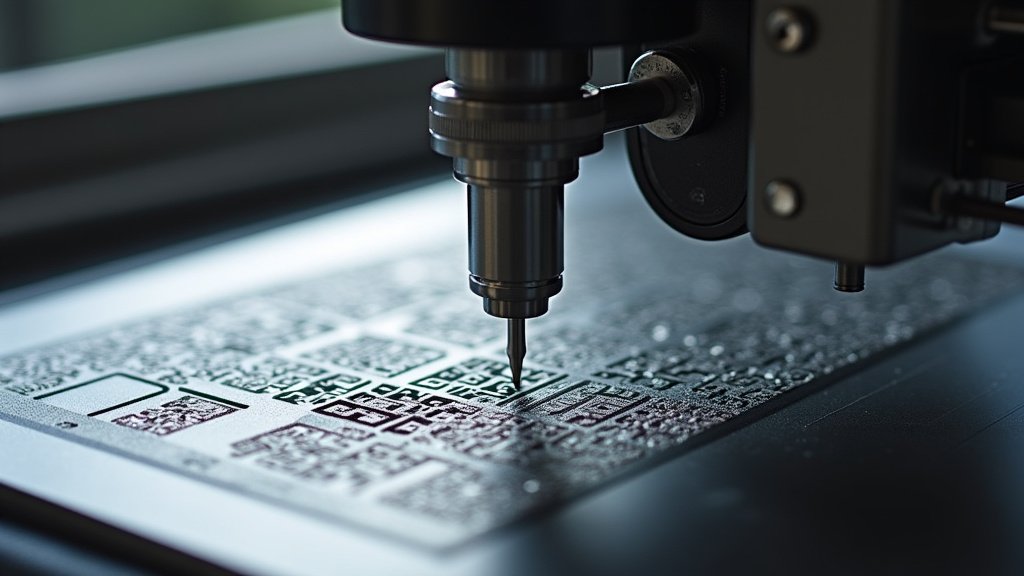
Rotary Engravers: These use a spinning bit to cut into the material. The depth is controlled by how far the bit is lowered into the material. The type of bit (e.g., diamond drag, carbide cutter) also influences the mark it leaves. A diamond drag bit often creates a shallower, shinier line compared to a carbide bit.
Laser Engravers: Lasers work by vaporizing or melting material. The depth is controlled by factors like laser power, speed, and focus. Higher power and slower speeds generally lead to deeper engraving. It’s like a very precise, hot point burning away the surface. We found that laser settings often require a lot of fine-tuning for the perfect depth.
CO2 Lasers vs. Fiber Lasers: These lasers have different wavelengths and are suited for different materials. A CO2 laser is great for organic materials like wood and acrylic. A fiber laser excels at marking metals. Their interaction with materials dictates how depth is achieved.
CNC Routers: Similar to rotary engravers, these use physical cutting bits. Depth is precisely controlled by the machine’s Z-axis. You can set a specific depth for the tool to reach.
3. Desired Aesthetic and Functionality
What do you want your engraving to look like and do?
Visibility: For simple identification or a quick read, a clear, moderately deep engraving is usually best. Think of serial numbers or simple text on tools.
Tactile Feel: If you want people to feel the engraving, you’ll need a deeper cut. This adds a physical dimension to the design. Braille is an extreme example of functional depth.
Artistic Effect: Subtle shading or fine details might call for very shallow engraving, almost like scratching the surface. Bold, dramatic designs might benefit from deeper cuts that create strong shadows and highlights.
Durability: As mentioned, items exposed to heavy use need deeper engraving to withstand wear. Think about outdoor signage or durable goods.
We found that combining these considerations helps narrow down the ideal depth range for your specific project.
How to Measure and Control Engraving Depth
Measuring and controlling depth can seem tricky, but there are methods. Most engraving software allows you to set parameters that influence depth.
Setting It Up in Software
For laser and CNC systems, the software you use is critical. You’ll often set parameters like:
- Power: Higher power often means deeper cuts (especially with lasers).
- Speed: Slower speeds allow the tool more time to cut, leading to greater depth.
- Passes: Multiple passes at a shallower depth can achieve the same depth as one deep pass, but it offers more control.
- Z-Axis Depth (CNC/Rotary): This is a direct measurement of how deep the tool will go into the material.
We found that experimenting with these settings on a scrap piece of your material is the best way to learn. Start conservatively and gradually increase depth or power.
Physical Measurement Tools
After engraving, you might need to physically check the depth. Common tools include:
- Calipers: Digital or dial calipers can measure the difference between the un-engraved surface and the bottom of the engraved mark.
- Depth Gauges: Specialized gauges are designed specifically for measuring the depth of cuts or holes.
- Microscopes: For very fine details or shallow engravings, a digital microscope can help you see and estimate the depth.
Checking your work ensures consistency, especially if you’re producing multiple identical items. It’s also a good quality control step.
Common Mistakes to Avoid with Engraving Depth
Even experienced engravers can run into depth-related issues. Being aware of common pitfalls can save you a lot of trouble.
Going Too Shallow
This often results in an engraving that is barely visible or wears away quickly. On metal, it might just look like a scratch. On wood, it might disappear after a light sanding or cleaning. We found that for any item meant to be touched or handled, shallow engravings are usually a mistake.
Going Too Deep
This can ruin your material. For brittle items like glass, it can cause cracks. For softer materials, it can create messy edges, blowouts, or simply cut too far through. It can also make fine details look chunky and indistinct. Think of trying to engrave a tiny flower petal too deeply – it might just become a hole.
Inconsistent Depth
This is a common issue with mechanical engravers if not properly calibrated or if the material surface isn’t perfectly flat. Uneven depth makes the entire engraving look unprofessional. It can happen if the material shifts during engraving or if the tool is worn.
Not Testing First
Skipping the test run is a recipe for disaster. Every material batch can be slightly different. Your machine settings might need slight adjustments from last time. A quick test on a scrap piece of the exact same material is always recommended. Many professionals swear by this practice.
A Quick Checklist for Perfect Depth
Before you start your next engraving project, run through this quick checklist to ensure you’re on the right track for the ideal depth:
- Know Your Material: What are its hardness and limits?
- Define Your Goal: Do you need bold, subtle, or tactile?
- Choose Your Tool Wisely: Is it suited for the material and desired depth?
- Test, Test, Test: Always do a test run on scrap material.
- Measure and Adjust: Use calipers or software to verify depth.
- Consider Durability: Will the depth hold up to intended use?
Getting the engraving depth right is a blend of art and science. It requires understanding your materials, your tools, and your vision for the final piece. With a little practice and attention to detail, you’ll be creating perfectly engraved items every time.
Conclusion
You’ve now got a solid grasp on engraving depth – it’s the essential element that brings your designs to life, making them visible and lasting. We’ve seen how material properties, your chosen tool, and the aesthetic you’re aiming for all play a part. Remember that testing is your best friend. Don’t skip the practice runs on scrap material!
By understanding how to control depth and avoiding common mistakes like going too shallow or too deep, you’re set up for success. Your next engraving project can achieve that perfect balance of appearance and durability. Now, go forth and engrave with confidence!
Frequently Asked Questions
What happens if my engraving is too shallow?
If your engraving is too shallow, it might be difficult to see, especially from a distance or in certain lighting. We found that shallow engravings are also more prone to wearing away over time, particularly on items that experience a lot of handling or friction.
Can engraving depth damage the material?
Yes, engraving too deeply can definitely damage your material. Brittle materials like glass can crack or chip, while softer materials might experience unwanted tearing or blowouts. It’s about finding that sweet spot for each specific material.
How do I know if I’m using the right depth setting on my laser engraver?
For laser engravers, depth is controlled by power, speed, and focus. We recommend starting with lower power and faster speeds for a shallow mark, then gradually increasing power or decreasing speed until you achieve the desired depth. Always test on a scrap piece first.
Is engraving depth the same for all types of materials?
No, engraving depth is not the same for all materials. Softer materials like wood or leather can typically handle deeper engravings than harder materials like metal or brittle materials like glass. Always research your specific material’s tolerance.
How can I make my engraving feel more tactile?
To make an engraving feel more tactile, you’ll need to increase the depth of the cut. Deeper engravings create a more pronounced physical impression that you can feel with your fingers. This often involves using more passes or a slower speed with your engraving tool.
