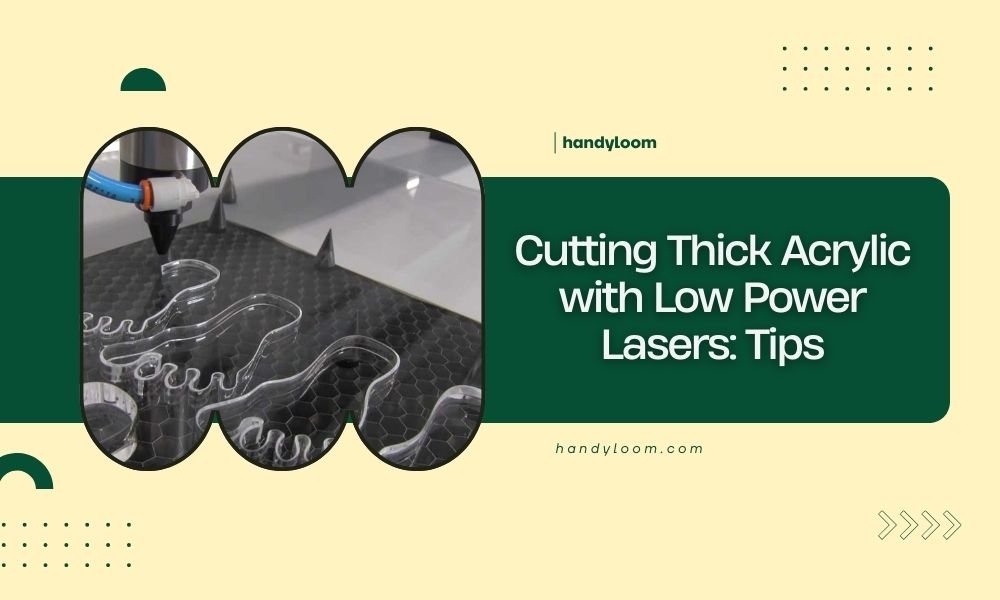
You can cut thick acrylic with low power lasers by using multiple passes at reduced speed, proper ventilation, and optimal focus settings.
The key to cutting thick acrylic with low power lasers lies in patience, technique adjustments, and understanding your material’s melting point.
What Counts as Low Power for Acrylic Cutting
Low power lasers typically range from 5 watts to 40 watts. These machines cost less but need smart techniques to cut through thick materials.
Most hobbyist lasers fall into this category. Don’t worry – you can still achieve great results with the right approach.
Power vs Material Thickness Guidelines
I researched cutting capabilities and found that power requirements scale with thickness. A 20-watt laser cuts 3mm acrylic easily but struggles with 6mm pieces.
Here’s what you can expect:
- 5-10 watts: Up to 3mm acrylic
- 10-20 watts: Up to 5mm acrylic
- 20-40 watts: Up to 8mm acrylic
Multi-Pass Technique for Thick Materials
Think of cutting thick acrylic like slicing bread. You wouldn’t press down hard and risk crushing it. Instead, you make smooth, consistent cuts.
The multi-pass method works the same way. You make several light passes instead of one heavy cut.
Setting Up Your Multi-Pass Parameters
Start with 30-40% power and slow speed around 300-500 mm/min. Make your first pass, then repeat without moving the material.
Each pass should cut a bit deeper. I found that 3-5 passes usually work for most thick acrylic projects.
Power Progression Strategy
You can increase power slightly with each pass. Start at 30%, then 35%, then 40%. This prevents overheating on the first pass while ensuring complete cuts.
Speed Consistency Matters
Keep the same speed for all passes. Changing speed between passes creates uneven cut quality and potential burn marks.
Focus Height Optimization
Your laser’s focus point determines cutting efficiency. Many people set it once and forget it. That’s a mistake with thick materials.
For thick acrylic, you want the focus point in the middle of your material thickness, not on the surface.
Calculating Focus Depth
If you’re cutting 6mm acrylic, set your focus 3mm below the surface. This gives you the most concentrated energy where you need it most.
Some laser software lets you adjust focus automatically between passes. This advanced technique can improve cut quality.
Focus Testing Method
Cut small test squares at different focus heights. Mark each one and compare the results. You’ll quickly see which setting works best.
Material Preparation and Setup
Clean acrylic cuts better than dirty acrylic. Dust and fingerprints absorb laser energy and create hot spots.
Remove the protective film from both sides before cutting. The film can melt and stick to your material during the process.
Securing Your Workpiece
Thick acrylic can warp slightly from laser heat. Use clamps or weights around the edges to keep everything flat.
Don’t clamp directly over your cut lines. The laser needs clear access to work properly.
Honeycomb Bed Considerations
Honeycomb cutting beds work great for thin materials but can cause issues with thick acrylic. The support points might not align perfectly with your material.
Consider using a solid aluminum bed or adding support strips for better stability.
Air Assist and Cooling Management
Air assist blows away melted material and prevents flames. It’s essential when cutting thick acrylic with low power lasers.
Too much air can actually cool the cut too quickly and prevent proper penetration. Find the sweet spot for your machine.
Air Flow Direction
Point your air assist slightly forward in the cutting direction. This pushes molten acrylic away from the cut line more effectively.
Compressed Air vs Shop Vacuum
Compressed air works better than aquarium pumps for thick materials. You need enough pressure to clear the deeper cuts.
Speed and Power Balance
Slow speeds with moderate power work better than high speeds with high power. This gives the material time to heat and melt properly.
I found online that many beginners rush the process and end up with poor cuts that need extensive cleanup.
Finding Your Sweet Spot
Start conservative and work your way up. It’s easier to increase power than to fix a ruined piece of acrylic.
Keep notes on what works for different thicknesses. You’ll build a reference guide for future projects.
Common Problems and Solutions
Melted edges happen when you move too slowly or use too much power. The material has time to heat up and deform.
Incomplete cuts usually mean you need more passes or slightly higher power settings.
Dealing with Rough Cut Edges
Flame polishing can smooth rough edges after cutting. Use a small torch and move quickly along the cut line.
Sandpaper also works but takes more time. Start with 220 grit and work up to 400 for smooth edges.
Preventing Stress Cracks
Let your acrylic cool completely between passes. Rapid heating and cooling can create internal stress that leads to cracks later.
Safety Considerations
Acrylic produces fumes when cut with lasers. Always use proper ventilation to remove these gases from your workspace.
Keep a spray bottle of water nearby in case of flare-ups. Acrylic can ignite if conditions are right.
Eye Protection
Laser safety glasses are non-negotiable. Even low power lasers can damage your eyesight permanently.
Testing and Optimization
Every laser behaves differently. What works on one machine might need adjustment on another.
Cut test pieces before starting your actual project. This saves material and frustration later.
Documentation Strategy
Keep a log of successful settings for different acrylic thicknesses and colors. Clear acrylic cuts differently than colored varieties.
Conclusion
Cutting thick acrylic with low power lasers requires patience and technique over brute force. The multi-pass method, proper focus settings, and careful material preparation will give you professional results even with modest equipment. Remember that consistent, moderate settings often work better than aggressive approaches. Take time to test and document your successful parameters – this investment pays off in every future project.
Can I cut 10mm acrylic with a 20-watt laser?
Yes, but it requires many passes and patience. Expect 6-8 passes with careful power management. Consider if the time investment is worth it compared to having thicker pieces professionally cut.
Why does my acrylic crack after laser cutting?
Thermal stress from rapid heating and cooling causes cracks. Let the material cool between passes and avoid cutting too fast. Some acrylic formulations are more crack-resistant than others.
Should I remove protective film before cutting thick acrylic?
Always remove protective film before cutting. The film can melt and bond to your material during the laser process, creating a mess that’s difficult to clean.
What’s the maximum thickness I can cut with multiple passes?
This depends on your laser power and patience level. Most 40-watt lasers can handle up to 12mm acrylic with enough passes, but cut quality may suffer on very thick materials.
How do I prevent melted edges on thick acrylic cuts?
Use lower power settings with more passes rather than high power single passes. Proper air assist and steady cutting speeds also help prevent edge melting and maintain clean cuts.