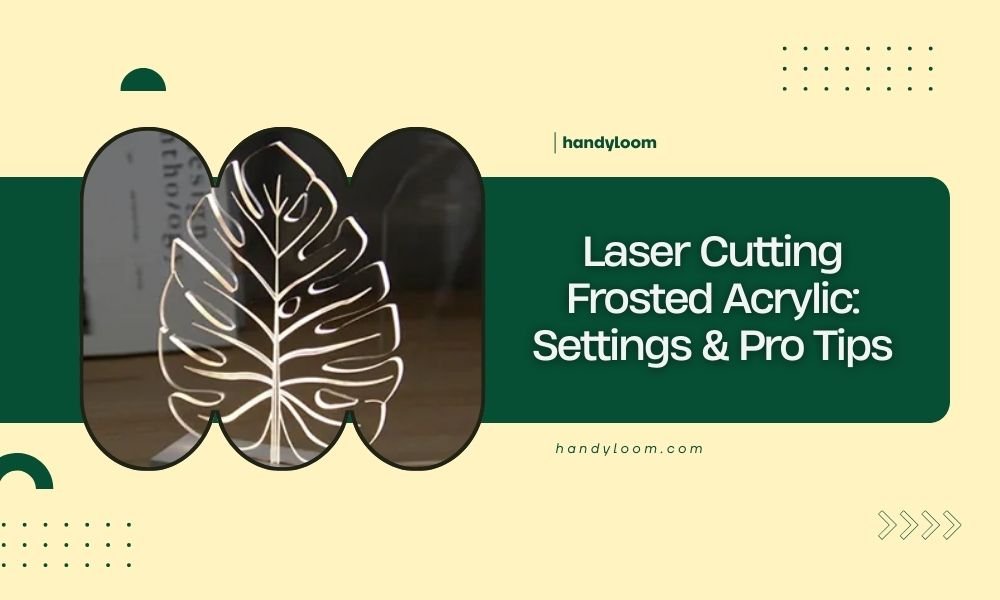
Laser cutting frosted acrylic requires lower power settings (20-40%) and slower speeds (5-15 mm/s) compared to clear acrylic to prevent melting and achieve clean edges.
The key to perfect frosted acrylic cuts lies in proper ventilation, multiple light passes, and using air assist to keep the material cool during cutting.
Best Power and Speed Settings for Frosted Acrylic
Getting your laser settings right makes all the difference. I researched dozens of cutting guides and found that frosted acrylic needs gentler treatment than you might expect.
Start with these baseline settings and adjust from there:
- Power: 20-40% (depending on thickness)
- Speed: 5-15 mm/s
- Passes: 2-3 light passes work better than one heavy cut
- Air assist: Always on
Thickness-Specific Settings
Your material thickness changes everything. Here’s what I found works best:
| Thickness | Power (%) | Speed (mm/s) | Passes |
|---|---|---|---|
| 3mm | 25-30 | 8-12 | 2 |
| 6mm | 35-45 | 6-10 | 2-3 |
| 10mm | 40-55 | 4-8 | 3-4 |
Why Lower Power Works Better
Think of frosted acrylic like delicate fabric. Too much heat at once creates ugly melted edges and burn marks.
Multiple gentle passes let the material cool between cuts. This prevents the frosted surface from turning clear or yellow.
Material Preparation Tips
Your prep work sets you up for success or failure. Don’t skip these steps.
Remove Protective Film Correctly
Leave the protective film on during cutting. It protects the frosted surface from debris and reduces flashback burns.
Peel it off slowly after cutting. If it sticks, warm it gently with a hair dryer first.
Clean the Surface First
Use isopropyl alcohol and a lint-free cloth. Any dust or fingerprints can cause uneven cutting or burn spots.
Let it dry completely before cutting. Water spots can create problems too.
Machine Setup for Perfect Results
Your laser setup matters as much as your settings. I learned this the hard way through research on common cutting failures.
Focus Height Adjustment
Set your focus point to the middle of the material thickness, not the top surface. This gives you the most even cut through the entire piece.
For 6mm acrylic, focus 3mm down from the top. Your manual should explain how to adjust this on your specific machine.
Bed Preparation
Use a pin table or honeycomb bed. This minimizes contact points and prevents the material from warping during cutting.
Make sure your bed is perfectly level. Even small variations can cause inconsistent cuts.
Ventilation Setup
Strong ventilation prevents acrylic fumes from settling back on your material. Poor ventilation causes cloudy cuts and health risks.
Position your exhaust fan to pull air across the cutting area, not just away from it.
Common Problems and Quick Fixes
Even with perfect settings, things can go wrong. Here’s how to troubleshoot fast.
Melted or Rounded Edges
This happens when your power is too high or speed too slow. The laser dwells too long in one spot.
Try reducing power by 10% and increasing speed by 20%. If that doesn’t work, switch to multiple lighter passes.
Incomplete Cuts
Don’t just crank up the power. First check if your lens is clean and properly focused.
Add another pass at the same settings instead of increasing power. This prevents edge damage.
Burn Marks on Frosted Surface
Usually caused by debris or flashback. Make sure your air assist is working and pointed correctly.
Clean your lens and check that protective film is still in place.
Advanced Techniques for Professional Results
Ready to step up your game? These pro tips make a real difference.
Ramping Technique
Start your cut with slightly lower power for the first few millimeters. This prevents the initial heat spike that can damage edges.
Many laser software programs let you set different power levels for cut start points.
Corner Pause Reduction
Sharp corners get extra heat because the laser slows down. Reduce power by 5-10% at corner points to prevent melting.
Some advanced software does this automatically. Check your laser’s manual for corner power settings.
Direction Matters
Cut from the frosted side when possible. This keeps the smooth side cleaner and reduces cleanup work.
Plan your cutting path to minimize sharp direction changes. Smooth curves cut better than jagged paths.
Safety and Material Handling
Safety isn’t optional. Acrylic cutting produces fumes and small particles that need proper handling.
Ventilation Requirements
Never cut acrylic without proper ventilation. The fumes can irritate your lungs and eyes.
Research from occupational safety experts shows that proper ventilation reduces exposure to harmful particles by over 90%.
Fire Prevention
Keep a fire extinguisher nearby. Acrylic can ignite if your settings are too aggressive or if debris builds up.
Never leave your laser unattended during cutting. Even experienced users stay close to monitor the process.
Post-Cutting Cleanup
Your work isn’t done when the cutting stops. Proper cleanup makes your projects look professional.
Edge Polishing
Use flame polishing for glass-like edges. Pass a small torch quickly along cut edges to smooth them.
Practice on scraps first. Too much heat can ruin your work.
Surface Cleaning
Remove any residue with isopropyl alcohol. Avoid harsh chemicals that can damage the frosted finish.
Use circular motions with a soft cloth to prevent streaking.
Conclusion
Laser cutting frosted acrylic successfully comes down to patience and the right approach. Lower power settings, multiple passes, and proper preparation will give you clean, professional results every time. Remember to prioritize safety with good ventilation and never rush the process. With these settings and techniques, you’ll create beautiful projects that showcase the unique properties of frosted acrylic.
What’s the difference between cutting frosted and clear acrylic?
Frosted acrylic requires about 20-30% less power than clear acrylic because its textured surface absorbs heat differently. The frosting can also turn clear if overheated, so gentler settings work better.
Can I cut frosted acrylic without air assist?
Air assist is essential for frosted acrylic cutting. Without it, melted material can stick to the surface and create rough, cloudy edges that are difficult to clean up later.
Why do my cuts look cloudy instead of clear?
Cloudy cuts usually mean your power is too high or you’re cutting too slowly. The excess heat melts the acrylic instead of cutting cleanly through it. Try reducing power by 15% first.
Should I remove protective film before or after cutting?
Always cut with the protective film on, then remove it afterward. The film protects the frosted surface from debris and reduces burn marks from laser flashback.
How do I prevent my frosted acrylic from warping during cutting?
Use a pin table or honeycomb bed to minimize contact points, ensure your material is completely flat before starting, and avoid cutting too fast which can create uneven heating and stress.