
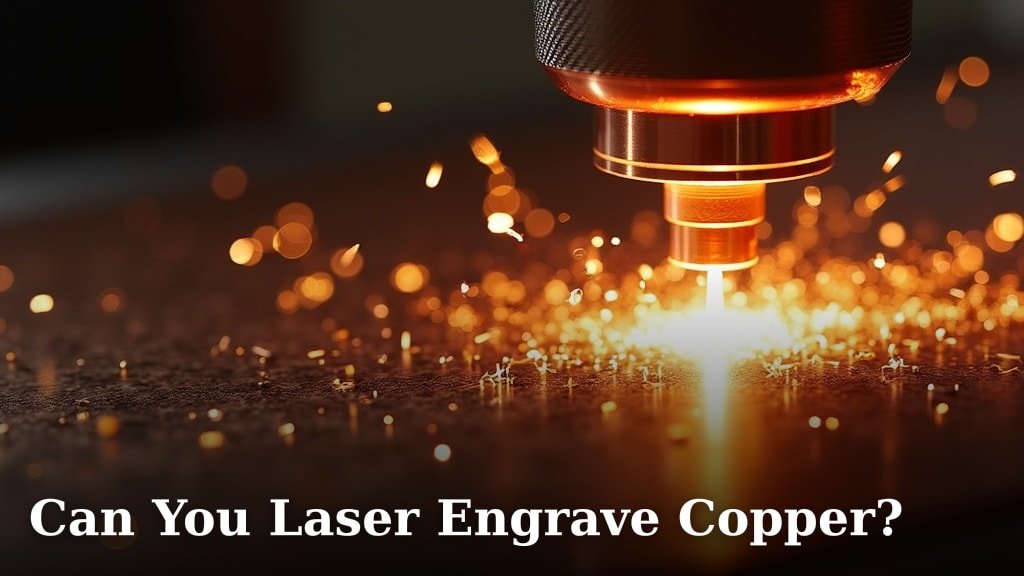
Yes, you absolutely can laser engrave copper. Many laser systems are capable of marking copper, but it’s not as straightforward as some other metals. You’ll often need specific laser settings or a specialized marking solution to achieve a good result. The key is understanding how the laser interacts with the metal’s surface to create a visible mark.
When laser engraving copper, you’re typically looking to create a dark, oxidized mark rather than removing material. This process can be influenced by the type of copper and the specific laser you’re using. Many users find success by experimenting with different power levels and engraving speeds to find the sweet spot. It’s a process that often requires a bit of trial and error.
- You can laser engrave copper with the right setup.
- It usually results in an oxidized mark, not removal of metal.
- Specific laser settings and marking solutions are often needed.
- Experimentation with power and speed is common.
Let’s dive into the details and find out exactly what you need to know to successfully laser engrave copper.
Marking Copper with Lasers: What You Need to Know
You’re probably wondering if your laser engraver can handle copper. The short answer is yes, it can! Many laser systems are quite capable of marking copper. However, it’s not always as simple as pointing and shooting. You might need to adjust your laser’s settings or use a special solution to get a clear, visible mark.
The goal when laser engraving copper is usually to create a dark, oxidized surface. You’re not typically trying to remove metal. Instead, you’re encouraging a chemical reaction. This reaction depends a lot on the type of copper you’re working with and the specific laser you own. Don’t be surprised if you have to do a bit of experimenting with power and speed to find that perfect combination.
Understanding How Lasers Mark Copper
When a laser hits copper, it heats the surface. This heat causes a reaction with the oxygen in the air. The result is a layer of copper oxide. This oxide layer is usually dark brown or black. It’s this colored layer that you see as the engraved mark. It’s a surface change, not a deep cut.
Think of it like heating a piece of metal in a campfire. You’ll often see it change color. A laser does a much more controlled version of this. It applies focused heat very precisely. This precision allows you to create designs and text. The key is controlling that heat effectively.
Types of Copper and Their Laser Marking Properties
Copper comes in a few common forms. Each can behave slightly differently under a laser. Pure copper, often called red brass or oxygen-free copper (OFC), is quite common. It tends to produce a nice dark mark relatively easily.
Then there’s brass, which is an alloy of copper and zinc. Brass can also be laser marked. However, the zinc content can affect the color of the mark. You might get a lighter brown or even a golden hue. Some people prefer this look. It really depends on your desired outcome.
The purity of the copper matters. Alloys with other metals might react differently. For example, some plated materials might have a thin copper layer. The laser could go through that layer and mark the base metal underneath. This would result in a different color or texture.
Laser Wavelength and Material Interaction
The type of laser you use is also a big factor. For metals, fiber lasers are often recommended. They have a wavelength that interacts well with metals like copper. Common wavelengths for fiber lasers are around 1064 nm.
CO2 lasers, on the other hand, are usually better for organic materials like wood or acrylic. While some CO2 lasers can mark metals, they often require assistance. This assistance might come in the form of a special marking spray or paste.
When the laser’s wavelength matches how the material absorbs energy, you get a more efficient mark. For copper, a fiber laser generally does a better job of delivering that energy to the surface to create the oxide layer.
Achieving a Good Laser Mark on Copper
Getting a clear, crisp mark on copper often involves a few key adjustments. You’ll need to focus on three main settings: power, speed, and frequency. Finding the right balance here is like tuning a guitar; too much or too little of any one thing, and it won’t sound right.
Power Settings: The Heat Control
Power is your primary tool for controlling the heat applied to the copper. Too little power, and you won’t get any mark at all. Too much power, and you risk melting the copper or creating a very deep, uneven mark.
For most fiber lasers marking pure copper, you’ll find success in the mid-range power settings. This usually means starting somewhere between 30% and 60% of your laser’s maximum power. The exact percentage will vary greatly depending on your laser’s wattage.
If you’re using a CO2 laser, the power requirements are usually much higher, and it’s even more critical to use a marking solution. Without it, a CO2 laser might just reflect off the copper surface.
Speed Settings: How Fast the Laser Moves
Speed dictates how long the laser beam stays on any given spot. A slower speed means the laser spends more time heating the copper. This can lead to a darker mark but also increases the risk of overheating or distortion.
Faster speeds mean less heat is transferred. This can be good for preventing damage, but you might end up with a faint or incomplete mark. Finding the sweet spot often involves slowing down the laser a bit compared to what you might use for wood.
Many find that speeds between 100 mm/s and 400 mm/s work well. Again, this is a starting point. Your specific laser, the copper type, and the desired mark intensity will all influence the ideal speed.
Frequency Settings: Pulses Per Second
Frequency, often measured in Hertz (Hz), controls how many pulses of the laser beam hit the material per second. A higher frequency means more pulses, delivering more energy in a shorter time. This can create a more intense heating effect.
For copper, experiment with lower to mid-range frequencies. Something between 20 kHz and 60 kHz is often a good place to start. Higher frequencies might be too aggressive and lead to melting or spattering.
The interplay between frequency, power, and speed is complex. Changing one setting often requires adjusting another to compensate. This is why testing is so important.
The Role of Marking Solutions
Sometimes, even
Conclusion
So, can you laser engrave copper? Yes, you certainly can! While it requires a bit more finesse than some other materials, achieving a great copper mark is totally within reach. You’ve learned that it’s about creating an oxidized surface, not removing metal. Understanding your laser’s wavelength, especially favoring fiber lasers, and carefully adjusting power, speed, and frequency are key. Don’t be afraid to experiment with your settings – that’s how you’ll find the perfect combination for your specific copper and laser setup. Your next step is to gather some scrap copper pieces and start testing those settings!
Frequently Asked Questions
What is the best type of laser for engraving copper?
For engraving copper, fiber lasers are generally recommended. They operate at a wavelength (around 1064 nm) that metals like copper absorb well. This allows for more efficient marking. CO2 lasers can sometimes mark copper, but they often need a marking solution to achieve good results.
Do I need a special marking solution to engrave copper?
While not always mandatory, a marking solution or paste can significantly improve your results, especially with CO2 lasers. These solutions interact with the copper surface when heated by the laser, creating a darker, more defined mark. They help prevent reflection and ensure a good oxide layer forms.
What kind of mark can I expect when laser engraving copper?
When you laser engrave copper successfully, you typically create a dark, oxidized surface mark. You’re not removing material, but rather causing a chemical reaction with oxygen. The color can range from brown to black, depending on the copper alloy and your settings. Some brass alloys may yield a lighter, golden hue.
Is it possible to melt copper with a laser engraver?
Yes, it is possible to melt copper if your laser settings are too high. Using excessive power or a slow speed can cause the copper to overheat and melt, leading to an undesirable surface texture or even damage. It’s important to start with moderate settings and adjust carefully to avoid melting.
How can I get a darker mark on copper?
To achieve a darker mark on copper, try increasing the laser’s power slightly or slowing down the engraving speed. You might also experiment with different frequency settings, often finding success in the mid-range. Using a high-quality marking solution can also help create a richer, darker oxide layer.
