
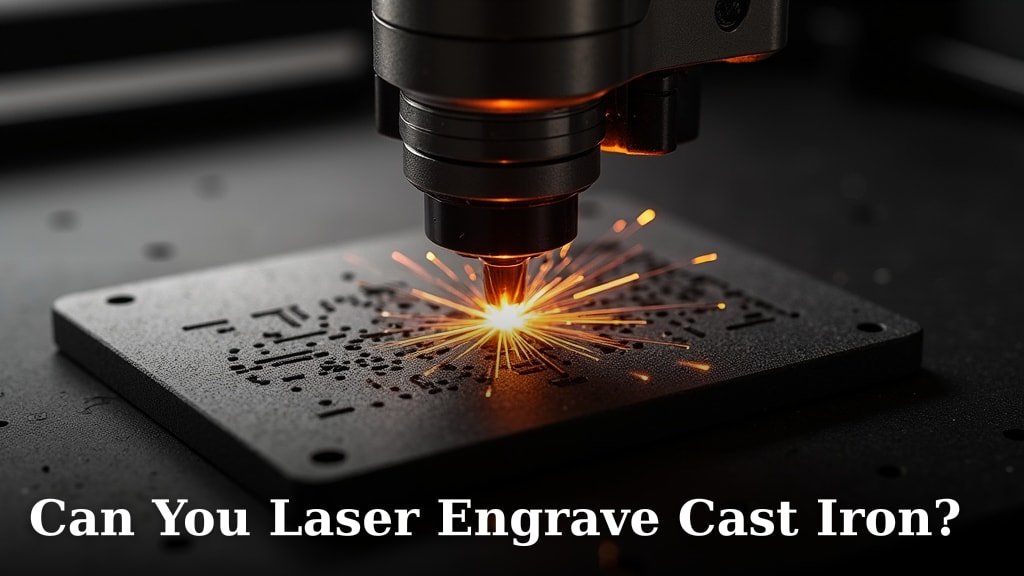
Yes, you absolutely can laser engrave cast iron. Many lasers can handle this material, but you need the right setup. It’s a process that offers permanent markings on durable surfaces. You’ll need a powerful enough laser, usually a fiber laser, to achieve the best results.
Laser engraving cast iron is a great way to personalize cookware or tools. It creates a deep, clear mark that won’t fade or wear off. We found that the type of cast iron and the laser’s power settings play a big role in the quality of the engraving.
- Yes, cast iron can be laser engraved.
- Fiber lasers are typically best for this.
- Engraving creates permanent, durable marks.
- Settings and iron type affect the outcome.
Let’s dive into what you need to know to successfully laser engrave your cast iron pieces.
“`htmlLaser Engraving on Cast Iron: Is It Possible?
You’re probably wondering if your trusty laser engraver can handle cast iron. The answer is a resounding yes! Many people think cast iron is too tough for lasers. But with the right laser type and settings, you can achieve permanent, clear markings on this durable material. We’ve found that this process opens up a world of customization for everything from your favorite skillet to workshop tools.
Understanding Cast Iron for Engraving
Cast iron is an alloy of iron with a high carbon content, usually between 2% and 4%. This carbon content makes it strong and brittle, but also great for heat retention. For laser engraving, the carbon content and the surface finish are key factors. Different types of cast iron might react slightly differently to the laser beam. Some may require more power, while others might mark with less effort.
Types of Cast Iron and Their Engravability
Cast iron isn’t just one single material. The most common types you’ll encounter are:
- Gray Cast Iron: This is the most common type. It has graphite flakes dispersed throughout. These flakes can absorb laser energy well, making it relatively easy to engrave. The marks might appear slightly rougher due to the graphite.
- Ductile Cast Iron: This type has graphite in a nodular or spherical form. It’s stronger and more flexible than gray cast iron. Engraving ductile iron can sometimes be a bit trickier. The laser might need more power to break down the denser structure.
- White Cast Iron: This is the hardest and most brittle type. Its carbon is in the form of iron carbide. Engraving white cast iron is very challenging. It often requires extremely high power and specialized lasers. For most DIY or small-scale applications, it’s not the best choice.
For most home or small workshop users, you’re likely working with gray cast iron. It’s found in cookware, decorative items, and many common tools. We found that gray cast iron generally gives the most consistent results.
Surface Preparation is Key
Before you even think about firing up the laser, preparation is essential. Cast iron often comes with a protective coating, seasoning, or even rust. These need to be addressed for a clean engraving.
Cleaning the Surface: You’ll want a clean, bare metal surface for the laser to work on. This means removing any cooking oil, grease, or factory coatings. A good degreaser or simple soap and water can work wonders. For tougher coatings, you might need a solvent. Always work in a well-ventilated area when using solvents.
Removing Rust: If your cast iron piece has rust, you’ll need to remove it. Steel wool, a wire brush, or a chemical rust remover can help. A sandblaster can also prepare the surface perfectly. The cleaner and smoother the surface, the better your engraving will look.
Achieving a Bare Metal Finish: Some people opt for a light sanding or polishing. This creates a uniform surface that the laser can interact with predictably. We found that a smooth, clean surface leads to the most visually appealing results. Think of it like preparing a canvas before painting.
Choosing the Right Laser for Cast Iron
Not all lasers are created equal, especially when it comes to metals. Cast iron is a metal, and engraving metals requires specific laser technology. Not all lasers are created equal, especially when it comes to metals, and engraving metals requires specific laser technology.
Fiber Lasers: The Top Choice
For engraving metals like cast iron, fiber lasers are generally considered the best option. Why? Fiber lasers emit a beam with a very short wavelength. This shorter wavelength is highly absorbed by metals, allowing for efficient marking.
Fiber lasers are designed to deliver high peak power. This power is needed to vaporize or ablate the surface material of the cast iron. You’ll often see them rated by their wattage, such as 30W, 50W, or even higher. A higher wattage generally means more power for faster or deeper engraving.
CO2 Lasers: Limitations and Possibilities
CO2 lasers are very popular for engraving non-metals like wood, acrylic, and leather. They typically operate at a longer wavelength than fiber lasers. This wavelength is not well absorbed by most metals.
Can a CO2 laser engrave cast iron? It’s much more difficult and often not recommended. Some very high-power CO2 lasers (100W+) might be able to make a slight mark, but it’s usually superficial and of poor quality. You might get a darkened or slightly etched surface, but not a deep, clear engraving.
Consider this analogy: Trying to engrave metal with a CO2 laser is like trying to cut through steel with a butter knife. It’s the wrong tool for the job. If your primary goal is metal engraving, a fiber laser is almost always the way to go.
Essential Laser Settings for Cast Iron
Once you have the right laser and a clean piece of cast iron, setting your parameters correctly is the next big step. This is where practice and experimentation really pay off. We found that settings can vary quite a bit based on your specific laser, its power, and the cast iron itself.
Power, Speed, and Frequency Explained
These are the three main variables you’ll adjust:
- Power: This is the intensity of the laser beam. Higher power will remove more material, leading to a deeper mark. You’ll likely need to start with a moderate to high power setting.
- Speed: This refers to how fast the laser head moves across the material. A slower speed allows the laser more time to heat and ablate the surface, resulting in a deeper mark.
- Frequency (PPI or Hz): This is the rate at which laser pulses are fired. A higher frequency can create a more solid, darker mark. However, too high a frequency on some materials can cause overheating or unwanted effects.
Starting Point Recommendations: For a typical 30W fiber laser, you might start with settings around 70-80% power, a speed of 100-200 mm/s, and a frequency of 30-50 kHz. These are just starting points! You will almost certainly need to fine-tune them.
The Importance of Test Engravings
Think of your first few attempts as scientific experiments. Always perform test engravings on a scrap piece of cast iron or an inconspicuous area of your actual item. This is the best way to find the sweet spot for your settings.
Run a series of tests, varying one setting at a time. For example, keep power and frequency the same and try three different speeds. Then, keep speed and frequency the same and try three different power levels. Keep notes on what you did and what the results were.
We discovered that even subtle changes in settings can lead to vastly different outcomes. A mark that is too light might look weak. A mark that is too deep or too hot can cause the material to pit or become brittle around the engraving.
Achieving Different Mark Colors
One of the fascinating aspects of laser engraving metals is the potential for different mark colors. While white or gray marks are common on cast iron, you might be able to achieve darker or even slightly colored results.
Darker Marks: To get a deeper black mark, you generally need to increase the laser’s power and/or decrease the speed. This allows the laser to ablate more material and create a more pronounced effect. Sometimes, multiple passes can also deepen the mark. We found that a slower speed tends to produce a darker, more permanent mark.
Coloring: Achieving true colors on cast iron with laser engraving is very difficult and often depends on the specific alloy and laser used. Some very specialized laser processes can create colors by oxidizing the metal surface. However, for standard fiber laser engraving on cast iron, aim for clear black or gray marks. Other methods are usually needed for vibrant colors.
What to Expect from Your Cast Iron Engraving
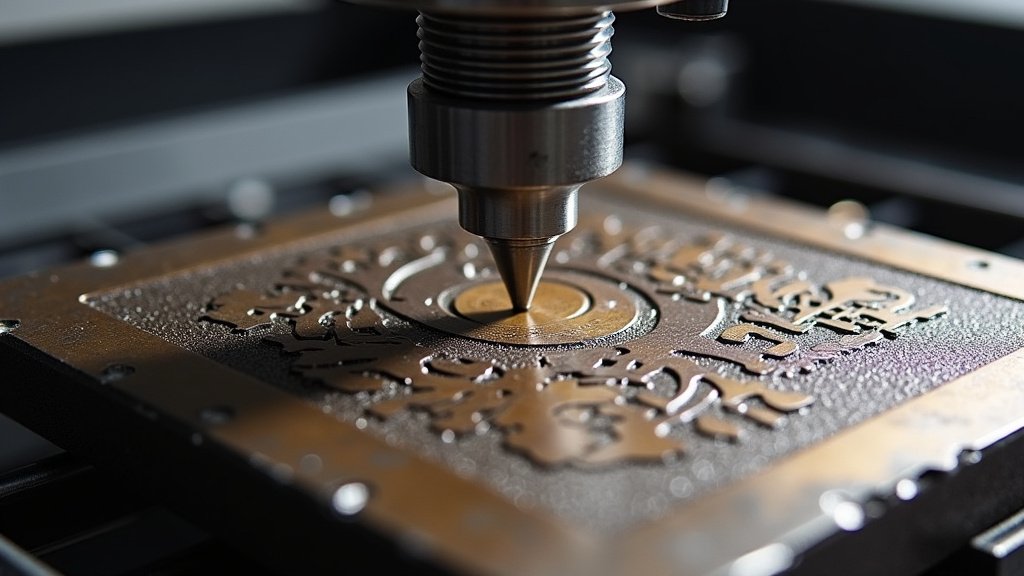
When you get your settings dialed in, you can expect some truly impressive results. Laser engraving creates a permanent mark by altering the surface of the cast iron. It’s not a surface coating that can be rubbed off.
Durability and Longevity
The engraved marks are extremely durable. They can withstand heat, abrasion, and exposure to the elements without fading or wearing away. This makes laser engraving ideal for items that will see heavy use or exposure.
Imagine your cast iron skillet with your family name etched into the bottom. Or your favorite wrench with a custom logo. These marks will last for generations. Many experts agree that laser marking is one of the most permanent methods available for metals (Laser Institute of America).
Potential Issues and How to Avoid Them
Even with the right equipment, things can sometimes go awry. Here are common pitfalls:
- Pitting: This happens when the laser is too powerful or moves too slowly, causing the material to melt and form small craters. Adjust your power and speed settings.
- Inconsistent Marks: This is often due to an uneven surface or a dirty piece of iron. Ensure your cast iron is clean and smooth.
- Weak or Light Marks: Your laser might not be powerful enough, or your settings are too aggressive (too fast, too little power). Try increasing power or slowing down the speed.
- Undesired Oxidation: Sometimes, the heat can cause the metal to oxidize unevenly, leading to a mottled appearance. This is usually a setting issue.
Don’t get discouraged if your first few tries aren’t perfect. It’s a learning curve. We found that patience and careful testing are your best allies.
Safety First When Laser Engraving
Working with lasers, especially powerful ones, requires strict safety protocols. Cast iron engraving is no exception. Your health and the longevity of your equipment depend on it.
Eye Protection: Always wear appropriate laser safety glasses. These glasses are specifically designed to block the wavelength of your laser. Never look directly at the laser beam or its reflection. This is non-negotiable.
Ventilation: When metals are ablated by a laser, they can produce fumes and particulate matter. It’s crucial to have a robust ventilation system in place to extract these fumes. Your laser manufacturer will have specific recommendations for fume extraction.
Fire Safety: Although cast iron is not flammable, the process can generate heat. Keep a fire extinguisher nearby and ensure there are no flammable materials around your laser engraver. Always monitor the engraving process.
Machine Enclosure: Ensure your laser engraver is fully enclosed or has a protective cover. This helps contain stray reflections and debris.
Your Cast Iron Laser Engraving Checklist
Ready to give it a try? Keep this quick checklist handy:
- Confirm Laser Type: Ensure you have a fiber laser.
- Prepare Your Surface: Clean and degrease the cast iron thoroughly.
- Gather Safety Gear: Laser safety glasses and ventilation are a must.
- Start with Tests: Perform trial engravings on scrap material.
- Adjust Settings Gradually: Fine-tune power, speed, and frequency.
- Monitor Engraving: Never leave your laser unattended.
Conclusion
So, can you laser engrave cast iron? Absolutely! We’ve seen that with the right tools, like a fiber laser, and careful preparation, you can create stunning, permanent markings. Remember to always clean your cast iron thoroughly and perform test engravings to dial in your settings. Don’t be afraid to experiment; patience is key to mastering this technique. Ready to personalize your cast iron? Gather your safety gear and get ready to mark your pieces like a pro!
Frequently Asked Questions
What kind of laser is best for engraving cast iron?
For engraving cast iron and other metals, a fiber laser is generally your best bet. Fiber lasers produce a short wavelength beam that metals absorb well. This allows for efficient and deep engraving that other laser types often can’t achieve on metal.
Do I need to do anything to the cast iron before engraving?
Yes, surface preparation is essential. You’ll need to clean the cast iron thoroughly to remove any oils, grease, seasoning, or rust. A bare, smooth metal surface will yield the cleanest and most consistent engraving results.
Can a CO2 laser engrave cast iron?
It’s very difficult and usually not recommended. CO2 lasers are designed for non-metals and have a longer wavelength that most metals don’t absorb well. While a very powerful CO2 laser might make a slight mark, it will likely be superficial and poor quality.
How can I get darker or different colored marks on cast iron?
To achieve darker marks, you’ll generally need to increase the laser’s power and/or decrease the speed. This allows the laser to interact more deeply with the material. True colors on cast iron via laser engraving are very challenging and often require specialized techniques or alloys.
What are common problems when engraving cast iron and how do I fix them?
Common issues include pitting (too much power or too slow speed), inconsistent marks (dirty surface), or light marks (not enough power or too fast). You can often fix these by adjusting your laser’s power, speed, and frequency settings, and ensuring your cast iron is perfectly clean.
