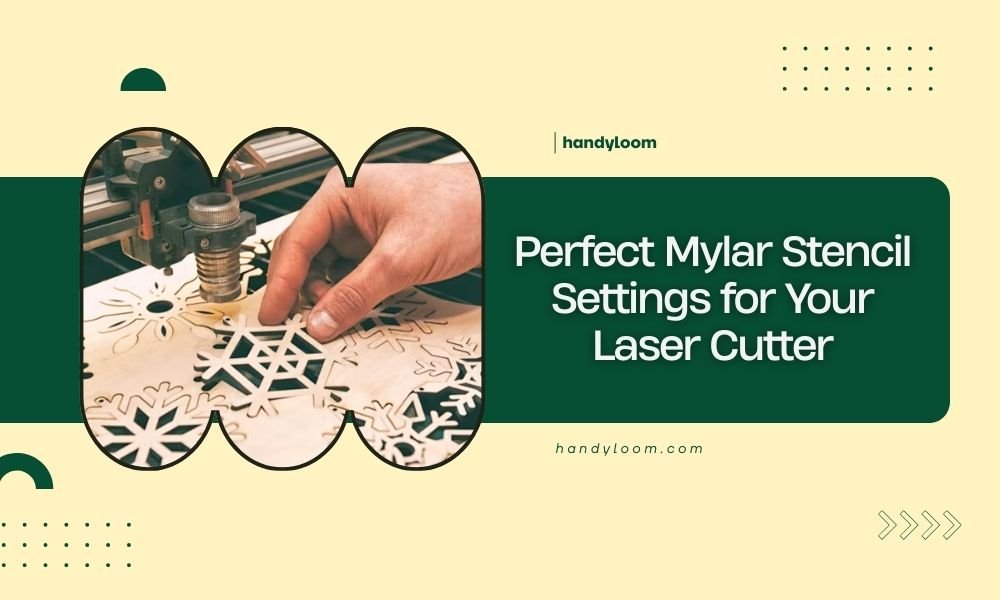
Perfect mylar stencil settings for your laser cutter start with 70-80% power and 700-800 mm/min speed for most machines. These settings create clean cuts without melting the edges or leaving residue on your material.
Mylar thickness affects your laser settings the most – 0.005″ mylar needs less power while 0.010″ requires higher settings for complete cuts.
Quick Settings Guide for Common Mylar Thicknesses
Different mylar thicknesses need different approaches. I researched laser cutting forums and found these starting points work for most CO2 lasers.
For 0.005″ mylar, try 60-70% power with 800-900 mm/min speed. This thin material cuts fast and burns easily.
For 0.007″ mylar, use 70-80% power with 700-800 mm/min speed. This is the sweet spot thickness for most stencils.
For 0.010″ mylar, bump up to 80-90% power with 600-700 mm/min speed. Thicker material needs more energy to cut through.
Why These Numbers Matter
Too much power melts mylar edges. Too little power leaves uncut sections. Think of it like cooking toast – you want golden brown, not charcoal or bread.
Speed balances with power. Fast speeds with low power often work better than slow speeds with high power for clean cuts.
Testing Your Settings Before You Start
Never jump into your final project without testing first. I learned this the hard way when I ruined a detailed stencil design.
Cut a small test square first. Use the same mylar thickness as your project. Make tiny adjustments until you get clean cuts.
The Test Square Method
Draw a 1-inch square in your laser software. Add some thin lines inside it to test detail cutting.
Run your test with your starting settings. Check these things:
- Clean cut edges without melting
- Complete cuts through the material
- No burn marks around the cuts
- Thin lines stay crisp and straight
Reading Your Test Results
Melted or rough edges mean too much power or too slow speed. Uncut sections mean not enough power or too fast speed.
Brown or black edges show heat damage. Reduce power by 5-10% and try again.
Machine-Specific Settings
Every laser cutter behaves differently. A 40-watt CO2 laser needs different settings than a 100-watt machine.
I found that lower-powered machines work best with multiple light passes instead of one heavy cut. This prevents heat buildup.
CO2 Laser Settings
CO2 lasers handle mylar really well. The wavelength cuts plastic materials cleanly without much heat affected zone.
| Laser Power | Mylar Thickness | Power % | Speed mm/min |
|---|---|---|---|
| 40W | 0.005″ | 50-60% | 900-1000 |
| 40W | 0.007″ | 60-70% | 800-900 |
| 60W | 0.005″ | 40-50% | 1000-1200 |
| 60W | 0.007″ | 50-60% | 900-1000 |
Diode Laser Considerations
Diode lasers struggle with mylar. The wavelength doesn’t absorb well into clear plastic materials.
If you must use a diode laser, try darker colored mylar. Black or colored mylar absorbs the laser energy better than clear.
Fiber Laser Settings
Fiber lasers work great for mylar but need much lower power settings. Start around 20-30% power with similar speeds.
The focused beam cuts very precisely. You can achieve finer details with fiber lasers than CO2 machines.
Environmental Factors That Affect Your Cuts
Room temperature and humidity change how mylar behaves. Cold mylar cuts differently than warm material.
I noticed my winter projects needed slightly different settings than summer ones. The material contracts when cold.
Air Assist Settings
Always use air assist when cutting mylar. It blows away melted plastic and prevents flames.
Too much air assist can blow thin mylar around during cutting. Find the sweet spot where it clears debris without moving your material.
Ventilation Requirements
Mylar produces plastic fumes when cut. Make sure your exhaust fan works properly.
Good ventilation also helps cool the material faster. This reduces heat buildup that causes melted edges.
Common Problems and Quick Fixes
Melted edges happen when you use too much power or move too slowly. Reduce power by 10% or increase speed by 100 mm/min.
Incomplete cuts mean not enough power or too fast speed. Bump power up 5% or slow down by 50 mm/min.
Dealing with Warped Material
Mylar sometimes warps from heat during cutting. This lifts the material and creates uneven cuts.
Use a honeycomb cutting bed or pin down the corners. Keep the material as flat as possible.
Multiple Pass Technique
For thick mylar or detailed cuts, try multiple light passes instead of one heavy cut.
Set your power 20% lower than normal. Run the same cut path 2-3 times. This reduces heat stress on the material.
Design Considerations for Better Results
Your stencil design affects what settings work best. Lots of fine details need slower, more precise cuts.
Large open areas can handle faster speeds. Simple shapes cut easier than complex patterns.
Optimal Line Spacing
Keep stencil bridges at least 2-3mm wide. Thinner bridges break easily during use.
Space your cut lines far enough apart that heat from one cut doesn’t affect nearby cuts.
Corner Radius Tips
Sharp corners concentrate heat and often over-burn. Add tiny radius curves to sharp corners for cleaner results.
Even a 0.5mm radius helps prevent heat buildup at corner points.
Safety Tips for Mylar Cutting
Never leave your laser unattended when cutting mylar. Plastic materials can catch fire if settings are wrong.
Keep a fire extinguisher nearby. I always have one within arm’s reach during any plastic cutting session.
Proper Material Handling
Let cut mylar cool completely before handling. Hot plastic edges can burn your fingers.
Store unused mylar flat and away from heat sources. Warped material doesn’t cut evenly.
Conclusion
Getting perfect mylar stencil settings takes some testing, but these starting points save you time. Remember that 70-80% power with 700-800 mm/min speed works for most 0.007″ mylar projects on CO2 lasers.
Always test first, use air assist, and keep your workspace well-ventilated. With the right settings, you’ll create clean, professional stencils every time. Start conservative with your power settings and work up gradually – it’s easier to add power than fix melted edges.
What happens if I use too much power on mylar?
Too much power melts the mylar edges, creating rough, bumpy cuts instead of smooth ones. The material may also warp from excess heat, making your stencil unusable for detailed work.
Can I cut multiple layers of mylar at once?
Yes, but limit yourself to 2-3 layers maximum. Stacked layers trap heat and can cause uneven cutting. Increase your power by 20-30% and slow your speed by 100-200 mm/min for multiple layers.
Why does my mylar stencil have brown edges after cutting?
Brown edges indicate heat damage from excessive laser power or too slow cutting speed. Reduce your power by 10% and increase speed by 100 mm/min to eliminate the browning effect.
How do I prevent mylar from moving during cutting?
Use painter’s tape to secure the corners, or invest in a vacuum table if you cut mylar frequently. Reduce air assist pressure if it’s blowing your material around, but don’t turn it off completely.
What’s the thinnest detail I can cut in mylar stencils?
Most laser cutters can achieve 0.1-0.2mm line widths in mylar, but practical stencil bridges should be at least 2-3mm wide for durability. Thinner bridges break easily during stencil use and cleaning.