Paint filling engraved acrylic requires acrylic paint, a small brush, and patience to work the paint into the grooves without spilling over.
The key to perfect paint fill engraved acrylic is applying thin layers, removing excess paint immediately, and allowing proper drying time between coats.
What Is Paint Filling Engraved Acrylic
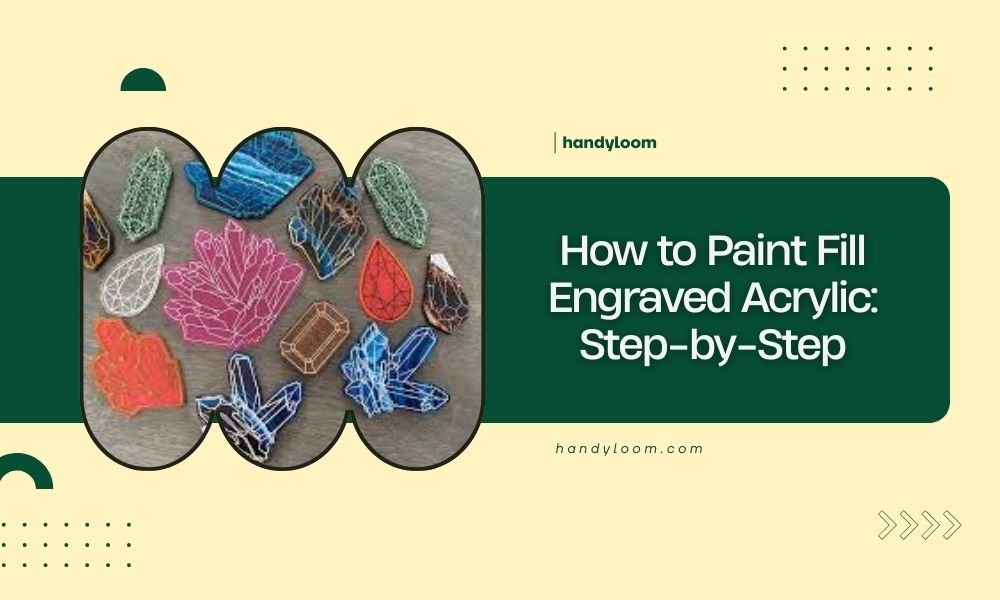
Paint filling turns your laser-engraved acrylic projects into colorful masterpieces. When you laser engrave acrylic, you create grooves that hold paint perfectly.
Think of it like coloring inside the lines, but the lines are tiny grooves. The engraved areas grab onto the paint while the smooth surface lets you wipe away mistakes.
This technique works on signs, awards, jewelry, and decorative pieces. You can use single colors or create rainbow effects with multiple paints.
Materials You Need for Paint Filling
Getting the right supplies makes this job much easier. I found that using quality materials saves time and frustration later.
Essential Paint Supplies
- Acrylic paint (any brand works fine)
- Small detail brushes (size 0 or 00)
- Cotton swabs or soft cloth
- Paper towels
- Small containers for paint mixing
Cleaning Materials
- Isopropyl alcohol (70% or higher)
- Soft microfiber cloths
- Toothpicks for detail work
- Plastic scraper or old credit card
Preparing Your Engraved Acrylic
Clean preparation prevents paint problems. Dust and oils stop paint from sticking properly.
Remove Protective Film
Peel off any masking film left on your acrylic. Sometimes small pieces stick in the engraved areas.
Use tweezers to pull out stubborn bits. Don’t skip this step – leftover film creates uneven paint coverage.
Clean the Surface
Wipe down the entire piece with isopropyl alcohol. Pay extra attention to the engraved grooves where oils and debris collect.
Let the alcohol dry completely before painting. Wet surfaces make paint float instead of stick.
Step-by-Step Paint Filling Process
Now comes the fun part. Take your time here – rushing leads to messy results.
Step 1: Apply Paint to Grooves
Load your brush with paint, but not too much. You want enough to fill the groove without flooding the surface.
Work the paint into the engraved lines using gentle dabbing motions. Think of it like pressing paint into cracks.
Brush Technique Tips
Move your brush along the groove, not across it. This pushes paint deeper into the engraving.
For thin lines, use the side of your brush tip. For wide areas, use the full brush width.
Step 2: Remove Excess Paint
This step separates good results from great ones. You need to clean the surface while the paint in the grooves stays wet.
Use a barely damp cloth to wipe across the surface. Wipe perpendicular to the engraved lines, not along them.
Timing Matters
Clean up excess paint within 30 seconds of application. Wait too long and the paint gets tacky.
If you mess up, add more paint and start over. Don’t try to fix partially dried paint – it looks terrible.
Step 3: Check Your Coverage
Look closely at your filled grooves. Are there any gaps or thin spots?
Add more paint to weak areas using a toothpick or tiny brush. This gives you better control than a regular brush.
Advanced Paint Filling Techniques
Once you master basic filling, try these tricks for professional results.
Multiple Color Effects
Let your first color dry completely before adding a second color. This usually takes 2-4 hours depending on paint thickness.
Mask off areas you want to keep the first color. Painter’s tape works great for straight lines.
Gradient Effects
Mix your paints on the acrylic surface while they’re still wet. Work quickly to blend colors before they set.
Start with lighter colors and add darker ones. It’s easier to darken paint than lighten it.
Common Paint Filling Problems
Everyone makes mistakes when learning this technique. Here’s how to fix the most common issues.
Paint Won’t Stay in Grooves
This usually means your acrylic wasn’t clean enough. Oil residue makes paint bead up instead of flowing.
Clean again with alcohol and let it dry. Sometimes you need to scrub gently with a toothbrush.
Paint Looks Uneven
Uneven coverage comes from inconsistent pressure or brush technique. The paint needs to reach the bottom of every groove.
Add more paint and work it in thoroughly. Don’t be afraid to really push that brush into the engraving.
Colors Look Muddy
Muddy colors happen when you mix paints accidentally during cleanup. Each color needs its own clean brush and cloth.
Use separate containers for different colors. Wash brushes between colors or have multiple brushes ready.
Drying and Curing Your Paint
Patience pays off here. Rushed drying creates weak paint that chips easily.
Air Drying Process
Most acrylic paints need 4-6 hours to surface dry. Full curing takes 24-48 hours.
Keep your piece flat during drying. Vertical positioning can cause paint to sag out of grooves.
Ideal Drying Conditions
Room temperature (65-75°F) with low humidity works best. Avoid direct sunlight which can cause cracking.
Good air circulation helps, but don’t put pieces directly in front of fans. This can blow dust onto wet paint.
Protective Coating Options
A clear coat protects your paint job and makes colors pop. Research shows that sealed paint lasts 3-5 times longer than unsealed paint.
Spray Sealers
Acrylic spray sealers give even coverage without brush marks. Hold the can 8-10 inches away and use light, even coats.
Two thin coats work better than one thick coat. Let each coat dry completely before applying the next.
Brush-On Sealers
These give you more control but can leave brush marks. Use a high-quality brush and work quickly.
Apply sealer perpendicular to your paint lines. This prevents pulling paint out of the grooves.
Maintenance and Touch-Ups
Even great paint jobs need occasional maintenance. Here’s how to keep your projects looking fresh.
Regular Cleaning
Clean painted acrylic with mild soap and water. Avoid harsh chemicals that can soften the paint.
Use a soft cloth and gentle circular motions. Don’t scrub directly over the painted areas.
Touch-Up Repairs
Small chips happen over time. Keep leftover paint for quick touch-ups.
Clean the damaged area first, then apply paint with a small brush. Let it dry completely before sealing.
Troubleshooting Guide
| Problem | Cause | Solution |
|---|---|---|
| Paint won’t stick | Dirty surface | Clean with alcohol again |
| Streaky appearance | Too much paint on brush | Use less paint, more coats |
| Paint chips off | Surface contamination | Strip and start over |
| Uneven color | Inconsistent application | Add more thin coats |
Conclusion
Paint filling engraved acrylic transforms simple laser cuts into professional-looking pieces. The key is taking your time with each step – clean thoroughly, apply paint carefully, and let everything dry properly.
Start with simple single-color projects before trying complex multi-color effects. Practice on scraps first to get your technique down. With patience and practice, you’ll create stunning painted acrylic pieces that look like they came from a professional shop.
Remember to keep your workspace clean and organized. Good preparation and quality materials make all the difference between amateur and professional results.
Can you paint fill acrylic that wasn’t laser engraved?
Yes, but you need to create grooves first using a rotary tool or hand engraving tools. The grooves hold the paint, so smooth surfaces won’t work well for this technique.
What happens if you use oil-based paint instead of acrylic?
Oil-based paint takes much longer to dry and can cause cracking on acrylic surfaces. Acrylic paint bonds better with acrylic plastic and gives more predictable results.
How deep should the engraving be for paint filling?
Engravings should be at least 0.1mm deep but not more than 0.5mm. Shallow engravings don’t hold paint well, while very deep ones are hard to fill evenly.
Can you remove paint from filled engravings if you make a mistake?
Fresh paint comes off easily with alcohol or acetone. Cured paint requires scraping or sanding, which might damage the acrylic surface underneath.
Is it safe to paint fill acrylic indoors?
Acrylic paints are generally safe indoors with normal ventilation. Avoid spray paints in closed spaces, and always read paint labels for specific safety instructions.