To laser cut mirrored acrylic without damage, use low power settings, slow cutting speeds, and remove protective film only after cutting.
The key is controlling heat buildup through proper ventilation, masking tape protection, and gradual parameter adjustments until you achieve clean edges.
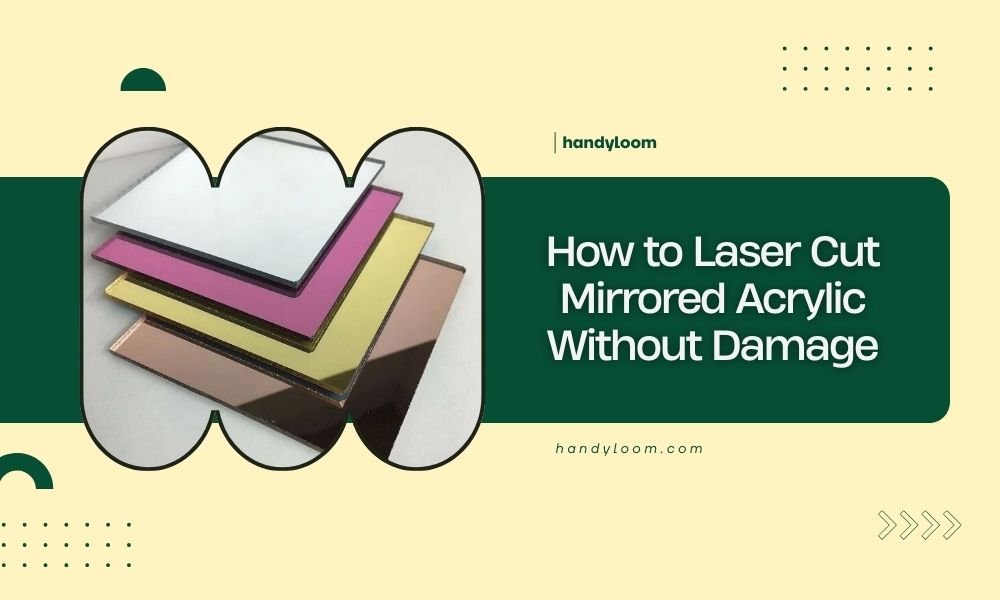
Understanding Mirrored Acrylic Properties
Mirrored acrylic behaves differently than regular acrylic when you laser cut it. The reflective coating adds complexity to the process.
I found that many crafters struggle with this material because they treat it like standard acrylic. That’s a mistake. The mirror coating can bubble, crack, or peel if you use wrong settings.
Why Mirrored Acrylic Is Tricky
The reflective layer sits on top of the acrylic base. Heat from laser cutting can separate these layers. This creates ugly bubbling around cut edges.
Research shows that mirrored acrylic typically has a lower melting point than the base material. This means the coating fails before the acrylic melts properly.
Essential Equipment Setup
Your laser cutter needs proper setup before you start. Wrong equipment settings cause most damage to mirrored acrylic projects.
Laser Power Requirements
Start with 40-50% of your normal acrylic power setting. I researched online forums where experienced users recommend this starting point.
You can always increase power if the cut doesn’t go through. It’s harder to fix melted or bubbled coating.
CO2 Laser Settings
CO2 lasers work best for mirrored acrylic. They produce the right wavelength for clean cuts without excessive heat.
| Thickness | Power (%) | Speed (mm/min) | Passes |
|---|---|---|---|
| 3mm | 45-55 | 300-500 | 1-2 |
| 6mm | 60-70 | 200-400 | 2-3 |
| 10mm | 75-85 | 150-300 | 3-4 |
Air Assist Configuration
Set your air assist to medium flow. Too much air cools the cut and prevents clean edges. Too little air lets debris build up.
I found from expert discussions that gentle, consistent airflow works better than high-pressure blasts.
Bed Preparation
Place your mirrored acrylic mirror-side down. This protects the reflective coating from debris and heat reflection.
Use a honeycomb cutting bed if possible. It provides better ventilation and reduces heat buildup underneath your material.
Step-by-Step Cutting Process
Follow these steps exactly. Skipping any step increases your chance of damaging the mirror coating.
Material Preparation
Clean your acrylic with isopropyl alcohol first. Dirt and oils can cause uneven heating during cutting.
Check that protective film covers both sides. Don’t remove it yet. The film protects against scratches and debris.
Masking Tape Application
Apply low-tack masking tape over your cutting lines. This extra protection prevents edge damage from heat and debris.
Use paper tape, not vinyl. Vinyl can melt and stick to your acrylic permanently.
Test Cutting Protocol
Always test cut on a scrap piece first. Use the same thickness and brand as your final project.
Cut a simple 1-inch square in a corner. This tells you if your settings work without ruining the whole sheet.
Parameter Adjustment
If your test cut doesn’t go through, increase speed by 10% before adding power. Faster cutting means less heat exposure.
If edges look rough or bubbled, decrease power by 5% and try again.
Final Cutting Execution
Start your actual cuts only after perfect test results. Position your design to minimize sharp corners and small details.
Watch the cutting process closely. Stop immediately if you see bubbling or excessive smoke.
Common Problems and Solutions
Even with perfect setup, problems can happen. Here’s how to fix the most common issues.
Edge Bubbling
Bubbling means too much heat hit the mirror coating. Reduce power by 10% and increase cutting speed.
I read that some users sand lightly with 400-grit paper to smooth bubbled edges. This works for hidden areas only.
Prevention Strategies
Use multiple light passes instead of one heavy cut. This spreads heat exposure over time.
Pause between passes to let the material cool. Wait 30 seconds for thin sheets, 60 seconds for thick ones.
Coating Separation
If the mirror coating peels away from the base, your settings are too aggressive. Start over with 20% less power.
Sometimes old or cheap mirrored acrylic separates no matter what. Buy from reputable suppliers for better results.
Repair Options
Small separated areas can be fixed with clear acrylic cement. Apply sparingly with a fine brush.
Large separations usually mean starting over. It’s frustrating but gives better final results.
Advanced Techniques
Once you master basic cutting, these techniques help with complex projects.
Vector vs Raster Considerations
Use vector cutting for clean edges. Raster engraving can damage the mirror coating even at low power.
If you must engrave, work from the back side. Remove protective film only from the cutting area.
Multi-Pass Strategy
Plan 2-3 light passes for thick material. Each pass should cut about 30-40% of total thickness.
This approach reduces heat buildup and gives you more control over the cutting process.
Complex Shape Handling
Cut inside details before outside edges. This keeps your piece stable longer during cutting.
Leave small connecting tabs for delicate parts. Break them by hand after cutting finishes.
Corner Management
Sharp internal corners concentrate heat. Round them slightly in your design software.
A 0.5mm radius prevents most corner problems without changing your design’s look.
Post-Cutting Care
Your work isn’t done when cutting stops. Proper post-processing protects your investment.
Edge Finishing
Remove masking tape while the acrylic is still slightly warm. Cold tape can pull coating when removed.
Polish cut edges with flame polishing or fine sandpaper. Work gently to avoid coating damage.
Cleaning Process
Clean with microfiber cloth and acrylic cleaner. Avoid ammonia-based cleaners that can cloud the mirror.
Compressed air removes debris from tight corners where cloth can’t reach.
Troubleshooting Guide
When things go wrong, systematic troubleshooting saves time and materials.
Cut Quality Issues
Rough edges usually mean speed too fast for your power setting. Slow down by 20% and test again.
Incomplete cuts need more power or slower speed. Increase power in 5% increments until cut completes.
Heat Damage Prevention
If you smell burning plastic, stop immediately. The mirror coating is overheating.
Let the material cool completely before attempting another cut. Hot acrylic damages more easily.
Conclusion
Laser cutting mirrored acrylic successfully comes down to patience and proper technique. Start with conservative settings and work your way up gradually. The mirror coating is delicate, but with the right approach, you can achieve professional results every time.
Remember to always test first, keep your material cool, and work systematically through any problems. Your patience will pay off with beautiful, damage-free cuts that showcase the unique beauty of mirrored acrylic in your projects.
Can I laser cut mirrored acrylic mirror-side up?
You can, but it’s riskier. Cutting mirror-side up exposes the reflective coating to debris and heat reflection. Mirror-side down gives better protection and cleaner results.
What thickness of mirrored acrylic cuts easiest?
3mm thickness offers the best balance of workability and structural integrity. Thinner sheets can warp from heat, while thicker pieces need multiple passes that increase damage risk.
Why does my mirrored acrylic crack during cutting?
Cracking usually happens from rapid temperature changes or material stress. Use slower speeds, lower power, and ensure your acrylic is at room temperature before cutting.
Can I fix bubbled edges on mirrored acrylic?
Minor bubbling can be smoothed with 400-grit sandpaper, but this removes the mirror coating. For visible edges, it’s better to recut with proper settings than attempt repairs.
How long should I wait between cutting passes?
Wait 30-60 seconds between passes depending on material thickness. This cooling time prevents heat buildup that damages the mirror coating and ensures consistent cut quality.