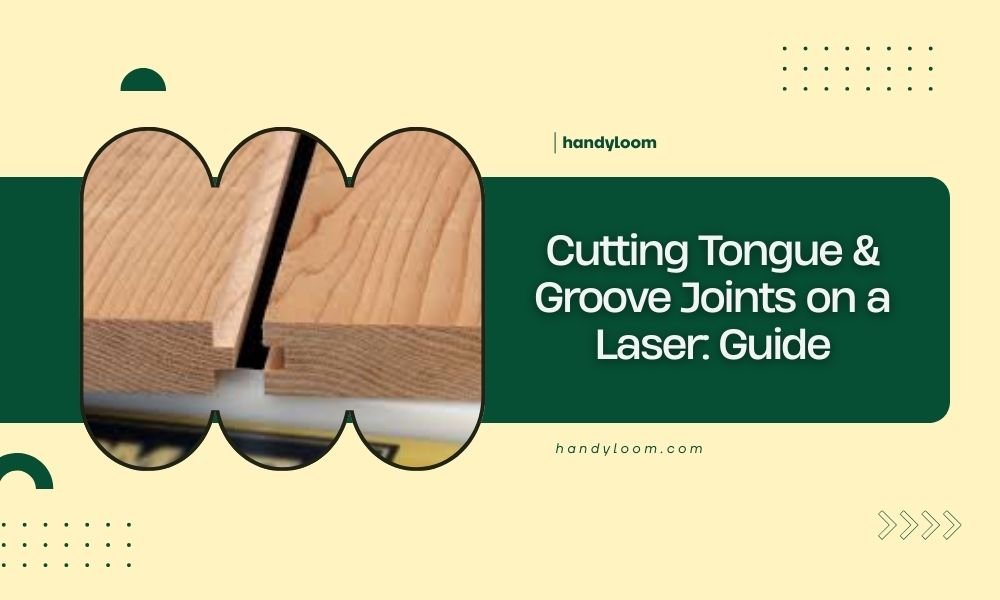
Cutting tongue and groove joints on a laser requires specific kerf width calculations and precise material positioning to create interlocking pieces that fit perfectly together.
You can achieve professional-quality tongue and groove joints by adjusting your laser settings, accounting for material thickness, and designing templates with proper tolerances built in.
What Are Tongue and Groove Joints
Think of tongue and groove joints like puzzle pieces that slide together. One board has a protruding “tongue” while the other has a matching “groove” or slot.
These joints create strong connections without glue or screws. You’ll see them in flooring, paneling, and box making. The interlocking design distributes stress across the entire joint.
Why Use Laser Cutting for These Joints
Laser cutting gives you precision that’s hard to match with traditional tools. You can cut multiple pieces at once with identical dimensions.
The narrow kerf width (typically 0.1-0.3mm) means less material waste. Plus, you can create complex joint shapes that would be difficult with router bits or dado blades.
Materials That Work Best
Not every material handles tongue and groove joints the same way. I researched which options give the best results.
Wood Materials
Plywood works great because it stays stable and doesn’t split easily. Birch plywood is my top pick for clean edges.
Solid hardwoods like maple and oak cut beautifully but watch the grain direction. Softwoods can work but may chip around delicate tongue edges.
Engineered Materials
MDF cuts very clean but can be fragile on thin tongues. Medium-density fiberboard gives consistent results across large projects.
Baltic birch offers the best strength-to-weight ratio. The multiple thin layers resist splitting better than solid wood.
Material Thickness Considerations
Stick to materials between 3mm and 12mm thick for best results. Thinner stock makes weak tongues. Thicker pieces need more laser passes and can warp from heat.
Essential Design Principles
Getting the proportions right makes or breaks your joint. Here’s what I found works consistently.
Tongue Dimensions
Make your tongue about one-third the material thickness. For 6mm plywood, that’s roughly 2mm thick.
The tongue length should be about half the material thickness. This leaves enough material on both sides for strength.
Groove Sizing
Your groove needs to be slightly wider than the tongue. Add 0.1-0.2mm to account for laser kerf and allow easy assembly.
Center the groove in your material thickness. Off-center grooves create weak spots that can snap under stress.
Calculating Kerf Compensation
Every laser creates a kerf – the width of material removed during cutting. Test cuts help you measure this precisely.
Cut a square, measure it, then compare to your design dimensions. The difference is your kerf width.
Setting Up Your Laser
Proper laser settings prevent burning and ensure clean joints. Start with these baseline settings and adjust for your specific machine.
Power and Speed Settings
For 3mm plywood, try 60% power at 15mm/second. Thicker materials need more power or slower speeds.
Multiple light passes often work better than one heavy pass. This reduces heat buildup and prevents warping.
Focus Height
Set your focus to the material surface, not halfway through. This gives cleaner top edges where joints mate together.
Check focus before each cut. Even small changes affect joint fit quality.
Air Assist Settings
Use moderate air assist to clear smoke without blowing debris into your groove. Too much air can create rough edges.
Step-by-Step Cutting Process
Follow this sequence for consistent results every time.
Design Your Template
Create your joint profile in vector software. Draw the tongue as a positive shape and groove as a cutout.
Add test pieces to your design – small samples you can check before cutting your final pieces.
Material Preparation
Make sure your material lies completely flat. Warped stock creates uneven joint depths.
Clean the surface of dust and oils. Contamination can cause uneven cutting.
Test Cut First
Always cut your test pieces first. This lets you adjust settings before cutting expensive materials.
Check the fit by hand. Joints should slide together with light pressure but not fall apart.
Production Cutting
Cut all your tongue pieces first, then all groove pieces. This prevents mixing up similar-looking parts.
Keep cut pieces organized and protected from damage. Tongue edges are delicate.
Common Problems and Solutions
Even experienced makers run into issues. Here’s how to fix the most common problems.
Joints Too Tight
If pieces won’t fit together, your groove is too narrow or tongue too wide. Increase your kerf compensation.
Light sanding on the tongue sides can help, but redesigning is usually better.
Joints Too Loose
Loose joints happen when you over-compensate for kerf. Reduce the extra width you’re adding.
Sometimes different wood density affects cutting. Test each new material batch.
Burned Edges
Reduce power or increase speed to prevent burning. Better air assist also helps.
Light sanding removes minor burn marks, but prevention works better.
Chipped or Rough Edges
Sharp chipping usually means dull laser tube or incorrect focus. Check your machine maintenance.
Some woods chip more than others. Test different species if quality matters.
Quality Control Tips
Professional results come from checking your work at each step.
Measuring Joint Fit
Use calipers to measure tongue thickness and groove width. Consistent dimensions mean better assembly.
A good joint slides together smoothly but holds firmly. You shouldn’t need force or clamps.
Visual Inspection
Look for consistent edge color and smoothness. Dark or rough spots indicate cutting problems.
| Issue | Cause | Solution |
|---|---|---|
| Too tight | Insufficient kerf compensation | Increase groove width by 0.1mm |
| Too loose | Excessive kerf compensation | Reduce groove width by 0.05mm |
| Burned edges | Too much power or slow speed | Reduce power 10% or increase speed 20% |
Advanced Techniques
Once you master basic joints, try these variations for special projects.
Angled Tongues
Slight angles on tongue edges make assembly easier and hide small fit issues. Try 2-3 degree chamfers.
Multiple Tongues
Wide boards can use two or three smaller tongues instead of one large one. This distributes stress better.
Conclusion
Cutting tongue and groove joints on a laser opens up new possibilities for your woodworking projects. The precision you can achieve surpasses traditional methods, but success depends on understanding kerf compensation and proper joint proportions.
Start with simple test cuts on scrap material. Master the basics before moving to complex projects. With practice, you’ll create professional-quality joints that fit perfectly every time.
Can I cut tongue and groove joints in metal with a laser?
Yes, but metal requires different settings and creates more heat distortion. Start with thin aluminum or steel sheets and use slower speeds with higher power. The kerf will be different from wood, so test extensively.
How do I prevent my thin tongues from breaking during assembly?
Make tongues slightly thicker than the minimum one-third rule, chamfer the leading edges, and ensure your groove isn’t too tight. Sometimes adding a small radius to sharp corners helps prevent stress concentration.
What’s the thinnest material I can use for tongue and groove joints?
Generally avoid materials thinner than 3mm. The tongue becomes too fragile and the groove leaves insufficient material for strength. If you must use thin stock, consider finger joints instead.
Why do my joints fit differently on opposite ends of the same board?
This usually indicates your laser bed isn’t perfectly level or your material is warped. Check bed tramming and use a straightedge to verify material flatness before cutting.
Can I use these joints for outdoor projects?
Tongue and groove joints work outdoors but need proper wood selection and finishing. Marine plywood or pressure-treated lumber handles weather better. Seal all surfaces including the joint areas to prevent moisture infiltration.