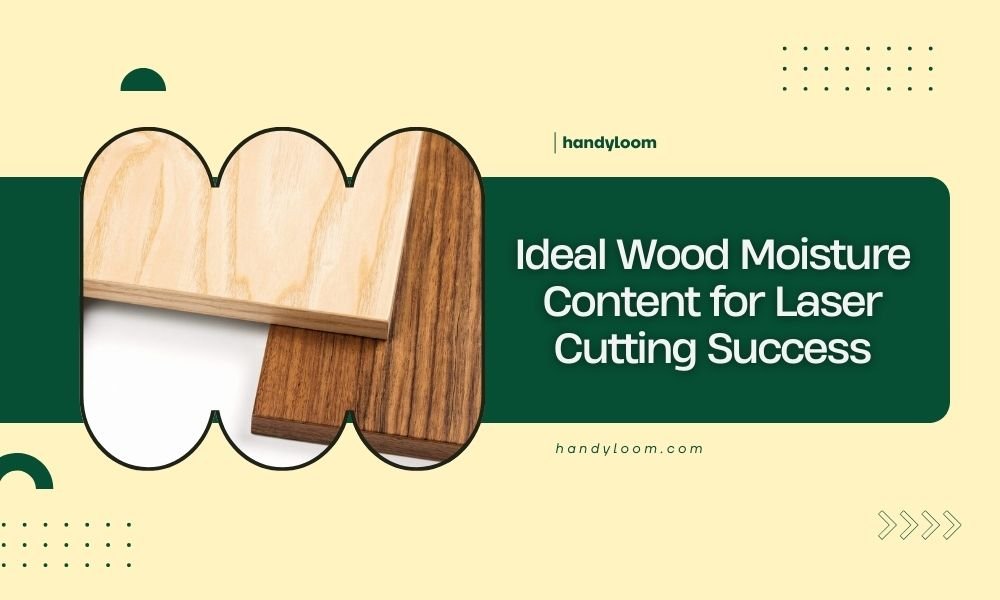
The ideal wood moisture content for laser cutting is between 6% and 12%, with 8-10% being optimal for most projects.
Wood with higher moisture content can cause burn marks, warping, and inconsistent cuts that ruin your laser cutting results.
Why Wood Moisture Content Matters for Laser Cutting
Think of wet wood like trying to write on damp paper. It just doesn’t work well. When your laser hits moist wood, the water turns to steam instantly. This creates problems you don’t want.
I researched laser cutting forums and found that moisture causes three main issues. First, the steam pushes against your laser beam, making cuts uneven. Second, extra moisture creates more smoke and residue. Third, wet wood burns differently than dry wood.
What Happens When Moisture Is Too High
Wood with moisture above 15% becomes your enemy. The laser has to work harder to cut through. You’ll see charred edges, rough surfaces, and cuts that don’t go all the way through.
I found that high-moisture wood also warps as it heats up. Your flat piece suddenly becomes curved or twisted. This ruins precision cuts and wastes expensive materials.
Problems with Wood That’s Too Dry
Wood below 6% moisture content brings different headaches. It becomes brittle and can crack during cutting. The laser moves so fast through overly dry wood that you lose control over cut quality.
Super dry wood also catches fire more easily. Nobody wants their project turning into a campfire.
How to Measure Wood Moisture Content
You can’t just guess if your wood is ready. You need to measure it properly.
Using a Digital Moisture Meter
A digital moisture meter is your best friend here. These tools cost around $20-50 and work instantly. Just press the pins into your wood and read the number.
I found online that pin-type meters work best for most crafters. They’re accurate and easy to use. Take readings from different spots on your wood piece.
Where to Take Measurements
Don’t just test one corner. Moisture varies across the same piece of wood. Test the center, edges, and both sides. Take at least three readings per piece.
Understanding Your Readings
Your meter shows a percentage. Here’s what the numbers mean for laser cutting:
- Below 6%: Too dry, risk of cracking
- 6-8%: Good for delicate work
- 8-10%: Sweet spot for most projects
- 10-12%: Still workable for thicker pieces
- Above 12%: Needs more drying time
The Oven Test Method
If you don’t have a moisture meter, try the oven method. Cut a small sample from your wood. Weigh it, then dry it in a 200°F oven for 2-3 hours.
Weigh it again when cool. The difference in weight divided by the original weight gives you moisture percentage. This method takes time but costs nothing.
Best Wood Types for Laser Cutting
Not all woods behave the same way. Some naturally hold more moisture than others.
Hardwoods vs Softwoods
Hardwoods like maple, cherry, and walnut usually have lower natural moisture. They’re stable and cut cleanly when properly dried.
Softwoods like pine and cedar can be trickier. They often contain resin that affects cutting quality. Pine also tends to hold moisture longer.
Top Choices for Beginners
Start with these woods that dry well and cut predictably:
- Birch plywood: Stable and consistent
- Maple: Hard, clean cuts
- Cherry: Beautiful finish, easy to work
- Basswood: Soft but stable
Woods to Avoid When Starting
These woods can frustrate beginners:
- Green lumber: Way too wet
- Treated lumber: Contains chemicals
- Very resinous woods: Create messy cuts
- Particle board: Inconsistent moisture
How to Dry Wood for Laser Cutting
Found some beautiful wood that’s too moist? Don’t give up. You can dry it yourself.
Air Drying Method
Stack your wood pieces with spacers between them. This lets air flow around each piece. Store them in a dry place with good ventilation.
Air drying takes patience. Thin pieces might dry in days. Thick lumber can take weeks or months. Check moisture levels regularly.
Creating the Right Drying Environment
Your drying area should stay between 60-80°F with low humidity. A basement or garage often works well. Avoid direct sunlight, which can cause cracking.
Oven Drying for Small Pieces
Small craft pieces can go in your kitchen oven. Set it to the lowest temperature (usually 170-200°F). Leave the door cracked open for moisture to escape.
Check every hour and test moisture levels. This method works fast but watch carefully to prevent over-drying.
Using a Dehumidifier
A dehumidifier speeds up natural air drying. Set it up in your drying room and let it run. This method gives you more control than oven drying.
Storing Wood at Proper Moisture Levels
You’ve got perfectly dried wood. Now what? Proper storage keeps it at ideal moisture levels.
Climate Control Tips
Wood absorbs moisture from humid air and releases it in dry conditions. Store your laser cutting wood where humidity stays steady.
I found that wrapping pieces in plastic helps maintain consistent moisture. Just don’t seal them completely or mold can grow.
Short-Term Storage
For wood you’ll use within weeks, a dry indoor space works fine. Keep pieces flat and separated. A spare bedroom or closet often works well.
Long-Term Storage Solutions
Planning ahead? Store wood in a climate-controlled area. Basements can work if they’re not damp. Heated garages are better than unheated ones.
Troubleshooting Common Moisture Problems
Even with careful preparation, moisture issues can sneak up on you.
Dealing with Burn Marks
Excessive burn marks often mean your wood is too moist. The laser has to work harder, creating more heat. Try drying your wood more or adjusting laser settings.
Fixing Warped Cuts
If your flat wood becomes curved during cutting, moisture is escaping unevenly. Next time, dry pieces more gradually and test moisture at multiple points.
Preventing Smoke Issues
Wet wood creates more smoke than dry wood. Good ventilation helps, but properly dried wood is the real solution. Most laser cutting problems trace back to moisture.
| Problem | Likely Cause | Solution |
|---|---|---|
| Burn marks | Wood too wet | Dry wood to 8-10% |
| Incomplete cuts | High moisture | Increase power or dry wood |
| Cracking | Wood too dry | Add slight moisture |
| Warping | Uneven moisture | Test multiple spots |
Conclusion
Getting wood moisture content right makes the difference between frustrating failures and beautiful laser cut projects. Aim for that sweet spot of 8-10% moisture content, and your cuts will be clean and precise.
Remember to measure before you cut, store your wood properly, and don’t rush the drying process. With the right moisture levels, your laser cutter becomes a precision tool that creates amazing results every time.
How long does it take to dry wood for laser cutting?
Thin pieces under 1/4 inch can air dry in 3-7 days in good conditions. Thicker wood may need 2-4 weeks. Oven drying small pieces takes just a few hours but requires careful monitoring.
Can I use a hair dryer to quickly dry wood pieces?
A hair dryer works for very small, thin pieces but isn’t practical for most projects. The heat is too concentrated and can cause cracking. Air drying or low-temperature oven drying work better.
What happens if I cut wood that’s slightly too moist?
Wood with 13-15% moisture might still cut but expect rougher edges, more smoke, and possible slight warping. You can often sand away minor imperfections, but it’s better to dry properly first.
Does wood species affect how moisture impacts laser cutting?
Yes, different woods react differently to moisture. Dense hardwoods like oak handle slight moisture better than soft woods like pine. Resinous woods create more problems when wet because the sap interferes with cutting.
How do I add moisture back to wood that’s too dry?
Lightly mist overly dry wood with distilled water and let it sit in a sealed container for 24-48 hours. Check moisture levels regularly. This process takes patience but prevents the cracking that happens with bone-dry wood.