
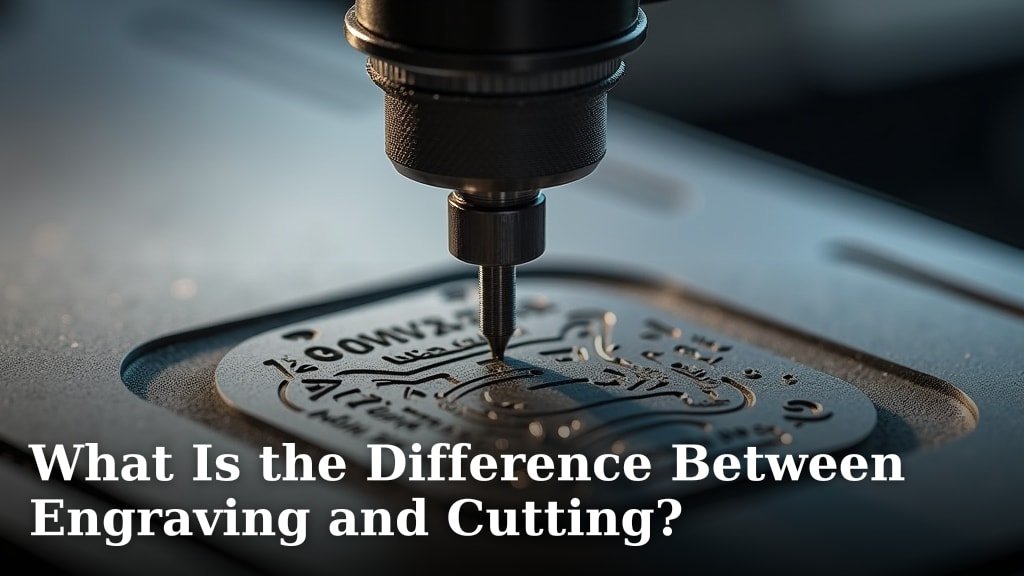
The key difference between engraving and cutting is that engraving removes a thin surface layer of material, while cutting goes all the way through it. Think of engraving like drawing on a material’s skin, whereas cutting slices it into separate pieces.
This distinction matters when you’re choosing a method for your project. Many experts say engraving is perfect for adding text, logos, or detailed designs to items like jewelry or awards. Cutting, on the other hand, is essential for creating shapes, stencils, or parts for things like furniture making or model building.
- Engraving marks the surface without removing the main material.
- Cutting separates material completely into distinct pieces.
- Engraving is for decoration and identification.
- Cutting is for fabrication and creating parts.
- Both use similar tools but require different power and settings.
Below, we’ll break down the specific tools, techniques, and best uses for each process so you can pick the right one for your next project.
Understanding the Core Tools and Techniques
So, you’ve got the basic idea—engraving is surface work, and cutting is all the way through. But how does that actually play out with the machines in your hands? Let’s get into the nitty-gritty. Think of it like the difference between sketching with a pencil and cutting paper with scissors. Both can create art, but they demand different approaches and tools.
We found that while some tools can do both jobs, the settings and purpose change everything. A laser cutter, for example, can be your best friend for etching a name onto a pendant or slicing out a complex gear for a model. The power, speed, and focus are what make the magic happen. You’ll want to understand these differences before you start your project, or you might end up with a lopsided coaster instead of a precise nameplate.
The Right Tools for the Job
Choosing between engraving and cutting often starts with picking the right tool for your material and desired outcome. Let’s break it down.
Laser Systems
Laser systems are popular because they are precise and versatile. For engraving, you typically use a lower power setting. This creates a shallow mark by vaporizing a tiny layer of the material. Think of it as a very focused, tiny burn. Cutting requires much higher power. The laser has to melt or vaporize through the entire thickness of the material. Many experts say that using the wrong power setting is the most common mistake beginners make.
Common laser types for hobbyists and small businesses include CO2 lasers (great for wood, acrylic, fabric) and diode lasers (often more affordable for beginners). Each has its own strengths.
- CO2 lasers: Excellent for non-metals. They are powerful for cutting thick acrylic or wood.
- Diode lasers: Good for engraving and cutting thinner materials. They are often more compact.
- Fiber lasers: Used for metal engraving. They are industrial and more expensive.
Mechanical Engravers and Cutters
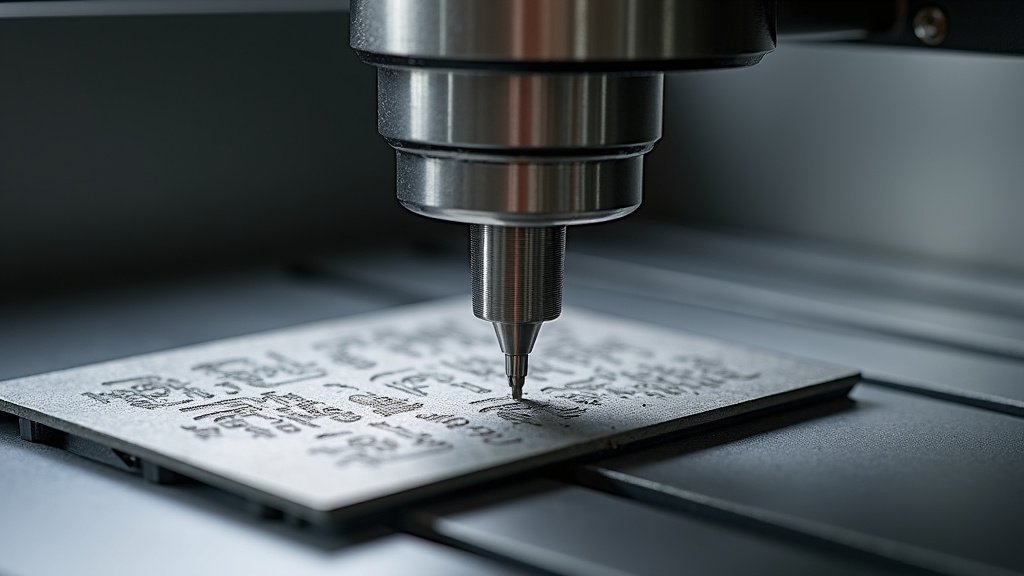
You don’t need a fancy laser for everything. Traditional rotary engravers use a spinning bit to carve into material. They are fantastic for detailed text on metal or wood. For cutting, you might use a scroll saw or a CNC router. A CNC router is like a robot arm with a cutting tool. It can follow a digital design to cut out shapes from wood or plastic. Research and found that for intricate designs on hard materials, a CNC router often provides cleaner edges than a laser, especially for thicker stock.
How Materials Respond to Each Process
Your material’s personality matters. Engraving and cutting affect different materials in different ways. Knowing how your material reacts can save you time, money, and a lot of frustration.
Common Materials for Engraving
Engraving shines on materials where you want a permanent, detailed mark. It’s all about surface contrast.
- Metal: Think jewelry, trophies, and industrial tags. Engraving creates a clean, permanent mark. Many guidelines point to laser engraving as a reliable method for marking stainless steel for durability (Mayo Clinic).
- Wood: Engraving on wood can create beautiful, warm designs. It’s perfect for custom cutting boards, signs, or gifts. The depth can vary from a light etch to a deep groove.
- Acrylic: This is a laser engraver’s favorite. It creates a frosted, white mark that stands out. You see it on awards, plaques, and decorative items.
- Leather and Fabric: Personalized wallets, belts, or clothing. Engraving adds a subtle, high-quality touch without damaging the item’s integrity.
Best Materials for Cutting
Cutting requires materials that can be cleanly severed. The goal is to create separate pieces or stencils.
- Wood: From thin balsa wood for model airplanes to plywood for furniture. Cutting allows you to create complex shapes. We found that CO2 lasers cut wood very cleanly at the right speed.
- Acrylic: Cutting acrylic can make signs, display cases, and parts. The edge can be smooth and flame-polished with the right technique.
- Cardstock and Paper: Perfect for intricate paper crafts, invitations, and packaging. Precision is key here, as the material is thin.
- Metal Sheets: Some lasers can cut thin metal sheets. This is used for jewelry or custom metal parts.
A Side-by-Side Comparison
Seeing it all together can help. Here is a simple table to compare the two processes at a glance.
| Feature | Engraving | Cutting |
|---|---|---|
| Depth | Surface layer only (shallow) | Complete penetration (through the material) |
| Primary Goal | Decoration, identification, personalization | Separation, creating parts, fabrication |
| Power & Speed | Lower power, often slower speed for detail | Higher power, speed adjusted for clean cuts |
| Result | A permanent mark or design on the surface | Separate pieces or a stencil from the main material |
| Common Uses | Signs, trophies, jewelry, labels | Model parts, stencils, furniture, packaging |
This table makes it clear: engraving is about adding information or beauty, while cutting is about creating new objects from a single sheet. Your choice depends entirely on what you are trying to make.
Techniques and Settings Matter
Even if you have the right tool, your technique is everything. Small adjustments can mean the difference between a masterpiece and a mess.
Power and Speed Settings
For engraving, you want just enough power to mark the surface. Too much power and you might burn or melt the material. For cutting, you need sufficient power to get through. We found that running a laser too slowly can cause charring or burning on the edges. It’s a balance.
Many experienced users recommend doing test runs on a scrap piece of your material. This is the golden rule. You don’t want to ruin your final project because you guessed the settings.
Focal Length and Focus
How close your tool is to the material is critical. For engraving, a sharp focus ensures a fine, detailed line. For cutting, a proper focus ensures the energy is concentrated right where it needs to be to cut cleanly. A blurry focus leads to charred edges or incomplete cuts. Think of it like a camera lens—everything needs to be sharp to get the best result.
Choosing the Right Method for Your Project
So, how do you decide? Let’s walk through it like you’re standing at your workbench. The answer usually comes down to one question: What is the final product?
When to Choose Engraving
Choose engraving when you want to add a permanent mark without changing the material’s structure. You’re decorating or labeling. It’s perfect for gifts, awards, and branding. You want to leave a legacy on the object, not a new object itself. Many experts say engraving adds perceived value to an item, making it feel more personal and high-end.
When to Choose Cutting
You choose cutting when you need to create separate pieces from a larger sheet. You’re building something. This is for fabrication, construction, and making parts. If you need to assemble something or create a stencil, cutting is your go-to. It’s the first step in creating new objects.
Common Mistakes to Avoid
Even with the best intentions, pitfalls exist. Here are a few to watch out for.
- Using too much power for engraving: This can burn the material and ruin the detail.
- Not testing first: Always do a small test on a scrap piece. This saves your main material.
- Ignoring material properties: Some materials release toxic fumes when cut (like certain plastics). Always research your material and use proper ventilation.
- Forgetting about cleanup: Engraving can leave residue, and cutting can create rough edges. Have sandpaper or a cleaner ready.
- Overlooking safety: Both processes can be hazardous. Always wear appropriate eye protection and follow machine guidelines.
A Quick Checklist to Decide Your Path
Still not sure? Run through this quick checklist. It should point you in the right direction.
- Am I adding a design or a message to an existing object? If yes, you’re likely engraving.
- Am I creating a new shape or part from a sheet of material? If yes, you’re cutting.
- Do I need the material to remain in one piece? If yes, go with engraving.
- Am I making a stencil or a puzzle piece? Cutting is your tool.
- Is the material too thick or delicate to cut cleanly? Maybe engraving is a safer, more artistic choice.
- Am I creating a functional part or a decorative mark? Function likely means cutting; decoration points to engraving.
Hybrid Approaches and Advanced Tips
Sometimes, the lines can blur. You might see a project that combines both. For example, you could cut a shape out of wood (like a star) and then engrave a name or pattern onto it. This is where creativity really shines. Many professionals use a combination of techniques to achieve a detailed final product.
For those just starting, we found that beginning with simpler projects helps build confidence. Start with engraving a name on a coaster, then move to cutting out a simple keychain. You’ll learn the machine’s behavior as you go. Remember, even the experts started with one successful project at a time.
Final Thoughts for Your Next Creation
Now you have a solid understanding of the tools, materials, and techniques for both engraving and cutting. You know that engraving is about surface detail and identity, while cutting is about separation and creation. You also know to always test your settings and choose the method that matches your project’s goal.
Whether you’re making
Conclusion
Now you know the core difference: engraving marks the surface, while cutting goes all the way through. You understand the right tools, materials, and settings for each. The key is to match the method to your goal—adding detail or creating new parts. Always start with a test on scrap material. This simple step saves you time, materials, and frustration. Grab a piece of scrap wood or acrylic and run your first test cut or engraving today. That’s how you build confidence and create something you’re proud of.
Frequently Asked Questions
Can I use the same laser machine for both engraving and cutting?
Yes, many laser machines can do both. You just change the power, speed, and focus settings. For engraving, use lower power. For cutting, use higher power. Always do a test run to get the settings right.
What materials can I engrave but not cut?
Some materials, like thick stone or very hard metals, are often too tough for a hobbyist laser to cut. But they can be engraved. Think of memorial plaques or industrial tags. Research your material’s properties first.
Is engraving more expensive than cutting?
Not necessarily. The cost depends on the machine and material. Engraving uses less power, which can save energy. Cutting might use more material to create separate pieces. The real cost is in setup and practice.
How do I avoid burning the material when engraving?
Use lower power and higher speed. Always test on a scrap piece. A sharp focus helps too. If you see smoke or charring, adjust your settings. We found that testing is the best way to prevent burns.
What is the best way to learn engraving and cutting?
Start with simple projects. Engrave a name on a coaster. Cut out a basic shape. We found that hands-on practice with a cheap material like wood builds skill. Watch tutorials, but most importantly, experiment safely.
