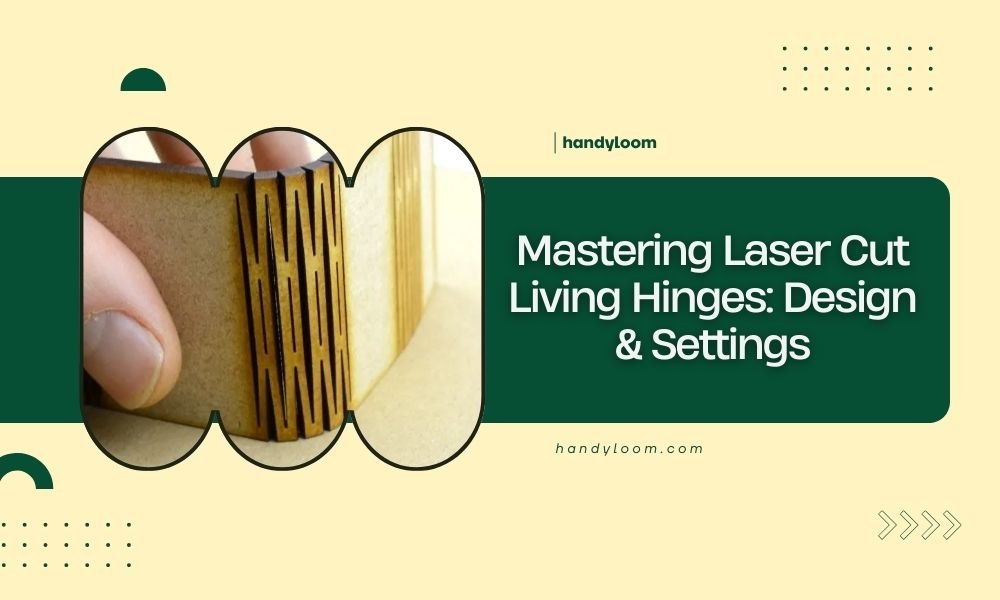
Laser cut living hinges are flexible connections created by cutting thin parallel lines into material, allowing it to bend smoothly without breaking or adding separate hardware.
Success with living hinges depends on precise kerf spacing, proper material thickness, and optimized laser power settings for your specific material type.
What Are Laser Cut Living Hinges?
Think of living hinges as nature’s solution to movement. Just like how your skin bends at joints without tearing, these laser-cut patterns let rigid materials flex naturally.
Living hinges work by removing tiny strips of material in strategic patterns. The remaining material acts like thousands of tiny springs. When you bend the piece, each section flexes slightly, creating smooth motion across the entire hinge.
Why Living Hinges Beat Traditional Hardware
I found that living hinges offer several advantages over regular hinges. They eliminate assembly time since everything cuts as one piece. You also avoid the cost and complexity of metal hardware.
These hinges work great for boxes, phone cases, laptop stands, and decorative panels. They’re particularly popular in wood and acrylic projects.
Essential Design Principles
Understanding Kerf Spacing
Kerf spacing is the distance between your cut lines. This measurement controls how much your hinge will bend. Closer lines create tighter curves but weaker hinges. Wider spacing gives you strength but less flexibility.
I researched typical kerf spacing and found most successful hinges use 0.5mm to 2mm spacing. Start with 1mm for your first attempts.
Material Thickness Matters
Your material thickness directly affects hinge performance. Thinner materials bend easier but break sooner. Thicker pieces last longer but need more force to flex.
For 3mm plywood, aim for kerfs that cut about 70% through the material. For 6mm acrylic, try 80% depth.
Choosing the Right Pattern
Several kerf patterns work well for different applications. Straight parallel lines offer the simplest approach. Curved patterns create smoother bending. Zigzag cuts add strength but complicate the design.
Straight Line Patterns
Parallel straight cuts work best for beginners. They’re predictable and easy to calculate. Just remember that perfectly straight lines create stress points at the ends.
Curved and Wave Patterns
Curved kerfs distribute stress more evenly. They look nicer too. The downside? They’re harder to design and require more precise cutting.
Material Selection Guide
Wood Options
Plywood works better than solid wood for living hinges. The alternating grain layers prevent splitting along the kerfs. Baltic birch plywood gives excellent results.
Solid woods can work, but grain direction becomes critical. Always run your kerfs perpendicular to the grain direction.
Wood Thickness Recommendations
I found that 3mm to 6mm plywood works best for most projects. Thinner than 3mm becomes too fragile. Thicker than 6mm requires very deep cuts.
Acrylic and Plastic
Acrylic creates beautiful living hinges with a modern look. Cast acrylic works better than extruded for flexibility. The material memory in acrylic helps hinges return to their original position.
Other plastics like PETG and polypropylene also work well. These materials handle repeated bending better than acrylic.
Testing Different Materials
Always test your design on scrap material first. What works for wood might fail completely in acrylic. Material behavior varies significantly between types.
Laser Settings for Perfect Cuts
Power and Speed Balance
Living hinges need clean, precise cuts without burning or melting. This means finding the sweet spot between power and speed for your material.
Start with lower power settings than you’d use for through-cuts. You want to cut partially through, not completely.
| Material | Thickness | Power (%) | Speed (mm/min) | Cut Depth |
|---|---|---|---|---|
| Baltic Birch | 3mm | 60-70 | 800-1200 | 70% |
| Cast Acrylic | 3mm | 40-50 | 600-900 | 75% |
| MDF | 6mm | 80-90 | 400-600 | 80% |
Multiple Pass Technique
Sometimes multiple light passes work better than one deep cut. This technique gives you better control over cut depth and reduces burning.
Try two passes at 40% power instead of one pass at 80%. The results often look cleaner.
Focus and Air Assist
Proper focus becomes even more important for living hinges. Off-focus cuts create wider kerfs and uneven depths. Always check your focus before starting.
Air assist helps remove debris and prevents burning. But too much air can cause thin materials to flutter, affecting cut quality.
Testing and Troubleshooting
Creating Test Pieces
I always recommend making small test strips before cutting your final project. Cut several strips with different kerf spacings and depths. This saves material and time.
Test strips should be about 50mm long and include 5-10 kerfs. This gives you enough length to evaluate flexibility.
Evaluating Flexibility
A good living hinge bends smoothly without cracking. It should return to its original shape when released. Listen for cracking sounds during bending – they indicate the design needs adjustment.
Common Problems and Solutions
Hinge Breaks Too Easily
If your hinge snaps during testing, the kerfs are probably too deep or too close together. Try reducing cut depth by 10% or increasing spacing by 0.2mm.
Won’t Bend Enough
Stiff hinges usually need deeper cuts or closer spacing. Increase cut depth gradually – you can always cut deeper, but you can’t add material back.
Uneven Bending
When hinges bend unevenly, check for inconsistent cut depth or power fluctuations. Dirty lenses or loose belts often cause this problem.
Advanced Design Techniques
Compound Curves
You can create hinges that bend in multiple directions by combining different kerf patterns. This technique works great for sculptural pieces or complex enclosures.
Cross-hatched kerfs allow bending in two directions. Just remember that each additional cut line reduces overall strength.
Variable Spacing
Changing kerf spacing across your hinge creates variable stiffness. Tighter spacing in the center creates a natural pivot point.
Combining with Other Features
Living hinges work well alongside other laser-cut features. You can integrate them with snap-fit connectors, decorative patterns, or functional cutouts.
Just plan your design carefully. The order of operations matters when combining multiple features.
Maintenance and Longevity
Protecting Your Hinges
Living hinges last longer with proper care. Avoid over-bending beyond their design limits. Most hinges handle thousands of cycles within their intended range.
For wood hinges, a light coat of oil can prevent cracking. Acrylic hinges benefit from avoiding extreme temperatures.
When to Replace
Replace living hinges when you notice permanent deformation or small cracks forming. These signs indicate the material is reaching its fatigue limit.
Conclusion
Mastering laser cut living hinges opens up new design possibilities for your projects. Start with simple straight-line patterns in familiar materials like plywood. Test different settings until you find what works for your specific laser and materials.
Remember that every material behaves differently, so testing is your friend. Document successful settings for future reference. With practice, you’ll create smooth, durable hinges that eliminate the need for traditional hardware while adding elegant functionality to your designs.
Can living hinges work with cardboard or paper?
Yes, but they’re quite fragile and only suitable for temporary or lightweight applications. Paper living hinges work best for prototypes or decorative items that won’t see much handling.
How many times can a living hinge bend before breaking?
Well-designed living hinges in plywood typically handle 1,000-10,000 cycles depending on the bend angle and material quality. Acrylic hinges often last longer due to better material memory.
What’s the maximum bend angle for living hinges?
Most living hinges work well up to 90-120 degrees. Beyond 180 degrees, you risk permanent deformation or cracking. The exact limit depends on your kerf pattern and material choice.
Can I repair a cracked living hinge?
Minor cracks in wood hinges can sometimes be stabilized with thin cyanoacrylate glue, but this reduces flexibility. Acrylic cracks usually require complete replacement of that section.
Do living hinges work outdoors?
Wood living hinges need protection from moisture and UV exposure to prevent warping and degradation. Acrylic handles outdoor conditions better but can become brittle in extreme cold.