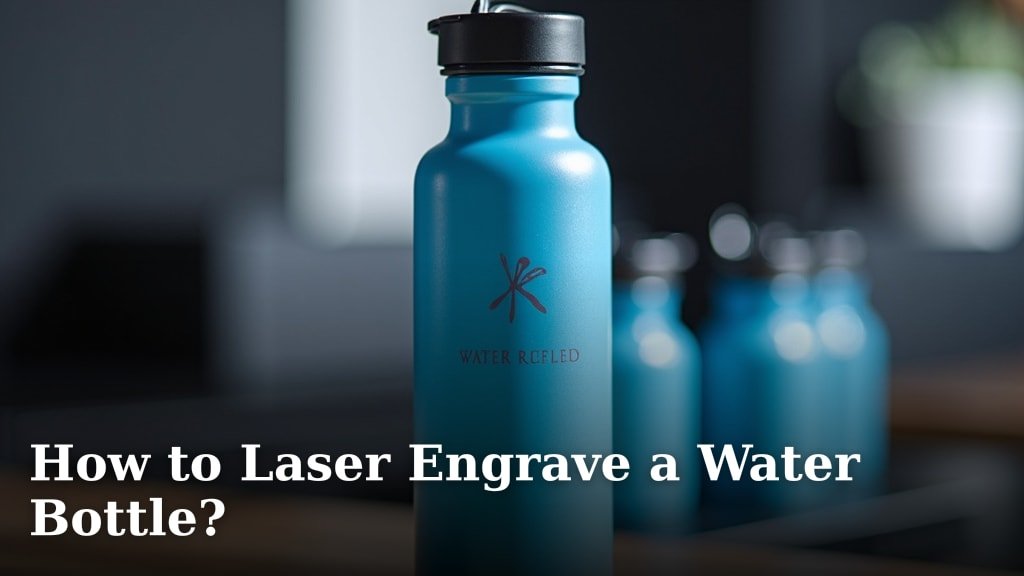
To laser engrave a water bottle, you’ll need a rotary attachment for your laser engraver. This tool lets your machine etch designs smoothly onto the curved surface of the bottle. You will also need to prepare your design and choose the right laser settings.
Engraving water bottles is a fantastic way to personalize gifts or create branded merchandise. Many different bottle materials work well, including stainless steel, aluminum, and even some coated plastics. Getting the hang of the rotary tool is key to sharp, professional results.
- You need a laser engraver with a rotary attachment.
- Clean your water bottle thoroughly before engraving.
- Create or choose your design file.
- Secure the bottle in the rotary attachment.
- Adjust your laser settings for the bottle’s material.
Ready to turn that plain water bottle into a personalized masterpiece? We’ll walk you through exactly how to set up your laser and achieve a perfect engrave, step by step.
Engraving Water Bottles: Your Step-by-Step Guide
Ready to make your water bottle truly yours? This guide will walk you through the entire process. We’ll cover everything from choosing the right bottle to fine-tuning your laser settings. You’ll soon be creating custom designs like a pro!
What Kind of Water Bottle Can You Engrave?
Not all water bottles are created equal when it comes to laser engraving. You’ll want to pick one that will give you the best results. The material of the bottle is very important. Think about what kind of look you’re going for.
Stainless Steel Water Bottles
Stainless steel is a very popular choice for laser engraving. When engraved, the laser removes the top colored coating. This reveals the shiny silver steel underneath. It creates a crisp, permanent mark. You often see these with company logos or custom names. We found that most For more details on this popular material, you can learn how to laser engrave stainless steel tumblers.powder-coated stainless steel bottles engrave beautifully.
Aluminum Water Bottles
Aluminum bottles can also be engraved. Similar to stainless steel, the laser typically removes an anodized color layer. This exposes the lighter aluminum beneath. The contrast might not be as sharp as with stainless steel, but it still looks great. Make sure your aluminum bottle has a coating that can be removed. Bare aluminum usually reflects the laser too much.
Coated Plastic Water Bottles
Some plastic water bottles with a special coating can be laser engraved. The laser melts or vaporizes the top layer. This reveals a different color plastic or the bottle material itself. Always do a small test engrave on an inconspicuous area. Not all plastics react well to a laser. Some can even release harmful fumes (OSHA).
Gathering Your Essential Tools
Before you start, make sure you have all the right equipment. Having the correct tools makes the process smooth and enjoyable. Think of it like cooking; you need all your ingredients ready first!
- Laser engraver: This is your main machine, of course!
- Rotary attachment: This crucial tool lets you engrave round objects.
- Computer with design software: You’ll need this to create or edit your design.
- Water bottle: Your blank canvas!
- Cleaning supplies: Isopropyl alcohol and a lint-free cloth.
- Safety glasses: Always protect your eyes when operating a laser.
- Ventilation system: Essential for removing fumes.
Setting Up Your Rotary Attachment
The rotary attachment is the magic behind engraving cylindrical items. It spins your water bottle slowly and precisely. This allows the laser to etch uniformly around the curved surface. Don’t worry, it’s usually quite straightforward to set up.
First, make sure your laser engraver is turned off. You’ll typically unplug the Y-axis motor from your machine. Then, you’ll plug in the rotary attachment’s cable into that same port. This tells your laser that it needs to rotate the object, not move its bed. Many manufacturers include detailed instructions for their specific models. We always recommend consulting your machine’s manual for the exact setup steps.
Preparing Your Design
Now for the fun part: creating your design! What do you want your water bottle to say or show? This is where your creativity shines. We recommend keeping designs relatively simple, especially when you’re just starting out.
Choosing or Creating Your Artwork
You can use many types of files for laser engraving. Common formats include SVG, DXF, AI, and even high-resolution JPG or PNG images. Vector files are generally preferred. They allow for crisp, scalable lines without losing quality. If you’re using a raster image (like a JPG), make sure it’s high resolution for best results.
Think about the size and shape of your water bottle. A tall, skinny design might look better on one bottle. A wider, more circular design might suit another. We found it helpful to create a template of your bottle’s surface in your design software. This helps you visualize the final placement.
Software Settings for Rotary Engraving
In your laser software (LightBurn, RDWorks, etc.), you’ll need to enable “rotary mode.” This tells the software to communicate correctly with the rotary attachment. You’ll input the diameter of your water bottle. This measurement is crucial. It tells the software how much to rotate the bottle for each laser pass. A small error here can cause your image to be stretched or squished. Many experts say to measure your bottle carefully (twice, even!).
Cleaning and Mounting Your Water Bottle
A clean bottle ensures a clean engrave. Any dirt, dust, or oils can interfere with the laser. This might leave unwanted marks or uneven etching. A little prep goes a long way here.
Wipe your water bottle thoroughly with isopropyl alcohol and a lint-free cloth. Make sure there are no fingerprints or smudges. Let it dry completely before moving on. This ensures the laser has a pristine surface to work with.
Next, carefully mount your water bottle into the rotary attachment. Make sure it’s centered and secure. It shouldn’t wobble or slip. If it’s not stable, your engrave will be crooked or distorted. Take your time with this step. It’s really important for a professional-looking result.
Finding the Right Laser Settings
This is arguably the most critical step for a successful engrave. Laser settings vary wildly depending on your machine and the material. There’s no one-size-fits-all answer here. However, we can guide you on what to look for.
| Material | Power (%) | Speed (mm/s) | LPI (Lines Per Inch) |
|---|---|---|---|
| Powder-coated Stainless Steel | 20-35% | 200-300 | 300-600 |
| Anodized Aluminum | 15-25% | 250-350 | 300-500 |
| Coated Plastics | 10-20% | 150-250 | 250-400 |
These values are starting points only. Your machine’s wattage and specific coating will affect the outcome. Think of it like a recipe. You might need to adjust ingredients based on your oven!
Test Engraves are Your Best Friend
Always, always, always perform a small test engrave first. Use a scrap piece of the same material or a less visible spot on the bottle. This helps you dial in the perfect power and speed settings. You’re looking for a clean, sharp mark without burning or melting too much. Adjust your power up or down by 5-10% at a time. Do the same with speed until you’re happy with the result. We found that patience here saves a lot of wasted material Our guide on how to engrave coated tumblers offers more tips for achieving perfect results and avoiding wasted material..
The Engraving Process
Once your settings are dialed in and your bottle is secure, you’re ready to engrave. Double-check everything one last time. Is your design centered? Are your safety glasses on? Is the ventilation running?
Initiate the engraving process from your software. Watch the laser carefully. The rotary attachment will slowly spin the bottle as the laser head moves. It’s quite fascinating to see your design come to life. Stay near your machine during the entire process. Just in case you need to pause or stop it.
Post-Engraving Cleanup and Inspection
Once the laser is finished, let the bottle cool down for a minute. Carefully remove it from the rotary attachment. You might notice some residue or soot around the engraved area. This is normal, especially with coated materials.
Use a damp cloth or a soft brush to gently clean off any debris. Sometimes a little isopropyl alcohol helps here too. Inspect your finished product. Is the engraving crisp? Is it evenly applied? Are there any unexpected marks? This is where you see the fruits of your labor! If something isn’t quite right, you can adjust your settings or technique for your next project. Every engrave is a chance to learn and improve!
Your Laser Engraving Checklist
- Turn on ventilation and wear safety glasses.
- Ensure water bottle is clean and dry.
- Securely mount bottle in rotary attachment.
- Set correct bottle diameter in software.
- Perform a small test engrave to confirm settings.
- Start the main engraving process.
- Clean the engraved area after completion.
Conclusion
You now have all the tools and knowledge to start laser engraving water bottles! Remember, patience and practice are key. Don’t be afraid to experiment with different settings and designs. Start with simple projects to build your confidence.
Every successful engrave is a small victory. Every test engrave teaches you something new. With these steps, you’ll soon be creating impressive, personalized water bottles for yourself and others. Go ahead, give it a try and watch your creative ideas come to life!
Frequently Asked Questions
Can you laser engrave tumblers as well as water bottles?
Yes, absolutely! The process for laser engraving tumblers is essentially the same as for water bottles. You’ll still need a rotary attachment and similar preparation steps. Just be sure to measure the tumbler’s diameter correctly for your software settings.
What if my laser engrave is too light or too dark?
If your engrave is too light, increase the laser’s power percentage or decrease the speed. If it’s too dark or burning, decrease the power or increase the speed. Always make small adjustments and test before doing the full design.
How do I prevent my design from looking stretched or squished on a curved surface?
This usually happens if the water bottle’s diameter is entered incorrectly in your laser software. Double-check your measurements carefully. An accurate diameter tells the rotary attachment how much to spin the bottle, ensuring the design scales properly.
Are there any water bottles you should NOT laser engrave?
Avoid engraving bare metals like untreated aluminum, as they reflect the laser rather than absorbing it. Also, be cautious with unknown plastics. Some plastics can release toxic fumes or melt poorly. Always confirm the material and test first.
How do I clean the soot or residue left after engraving?
For most materials, a damp cloth or a soft brush will remove the soot. Isopropyl alcohol can also be very effective for stubborn residue, especially on powder-coated surfaces. Wipe gently to avoid scratching your newly engraved design.