
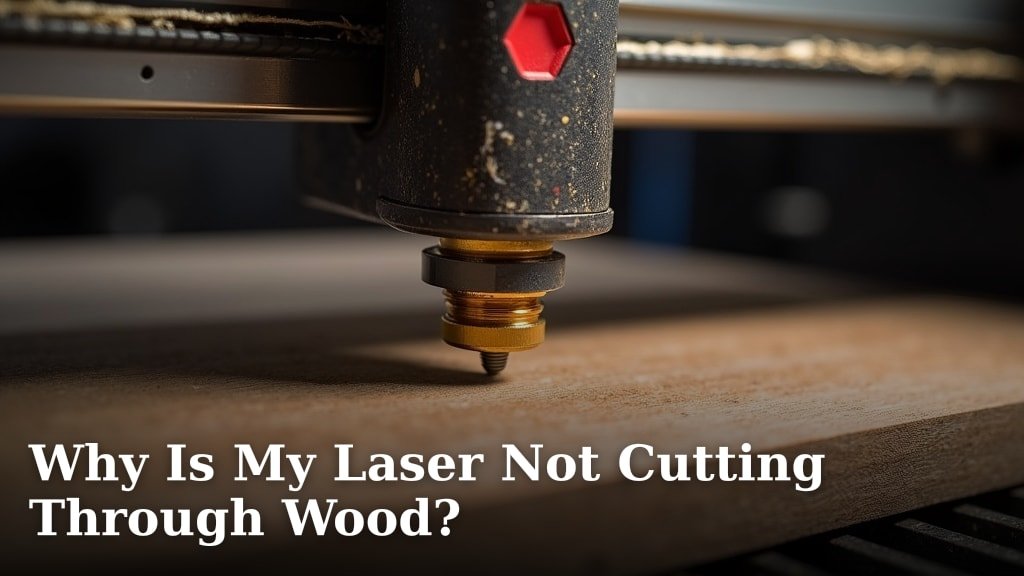
Your laser isn’t cutting through wood because of incorrect power or speed settings, a dirty lens, or a material that’s too thick. You might also have a misaligned laser beam or an issue with your machine’s focus. We found these are the most common reasons.
It can be really frustrating when your laser setup isn’t working as expected. Many makers face these hurdles. Sometimes, a simple adjustment makes all the difference, but other times, you might need to troubleshoot a few things to get that perfect cut.
- Check your laser power and speed settings first.
- Clean the laser lens and mirrors regularly.
- Ensure your material is suitable for your laser’s power.
- Verify the laser beam is properly aligned and focused.
- Consider environmental factors like ventilation.
Below, we break down everything you need to know about why your laser isn’t cutting through wood. Let’s get your projects back on track!
Troubleshooting Your Laser’s Inability to Cut Wood
When your laser isn’t cutting through wood, it’s usually due to a few common issues. Let’s dig into the most frequent culprits and how you can fix them.
Power and Speed Settings Are Off
This is often the first place to look. Think of your laser like a chef. Too little heat, and the food won’t cook. Too much, and it burns. The same goes for your laser. The right balance of power and speed is essential for a clean cut.
Understanding Power Settings
Your laser’s power setting dictates how much energy it puts out. Higher power means a more intense beam. If your power is too low, the laser simply won’t have enough energy to vaporize the wood fibers and cut through the material. It might just scorch the surface or engrave lightly instead of cutting deeply.
Always check your laser’s wattage. A lower wattage laser (like 5W-10W diode lasers) will struggle with thicker woods. We found that a 40W CO2 laser or higher is generally needed for consistent wood cutting (Laser Engraving Pros).
The Role of Speed Settings
Speed is the other half of the equation. This controls how quickly the laser head moves across the material. If your speed is too fast, the laser doesn’t have enough dwell time on any single spot to cut through. It just zips by, leaving an incomplete cut or a faint line.
Conversely, if your speed is too slow, you risk excessive charring or burning of the wood. This can lead to a messy, uneven cut and even fire hazards. You want that sweet spot where the laser has just enough time to do its job without overdoing it.
Finding the Right Combination
So, how do you find that perfect power and speed? It often comes down to testing. We recommend creating a small test grid. Use varying power and speed settings on scrap pieces of the exact wood you plan to cut. This helps you dial in the ideal settings for your specific machine and material.
Remember, different types of wood will behave differently. Hardwoods like oak need more power or slower speeds than softer woods like basswood or poplar. Even the grain direction can impact your cut.
Dirty Optics: Lenses and Mirrors
Imagine trying to see through a foggy window. Your vision would be blurry, right? The same applies to your laser. Dirt, dust, and debris on your lens and mirrors can significantly reduce the laser’s effectiveness.
Impact on Laser Beam Quality
A dirty lens or mirror can scatter the laser beam. Instead of a tight, focused point, the beam becomes diffuse. This means the energy is spread out over a larger area, reducing its cutting power. It’s like using a dull knife instead of a sharp one – it won’t cut cleanly.
Even tiny specks of dust can cause big problems. We found that microscopic particles can absorb laser energy, leading to localized heating and even damage to your expensive optics over time.
Cleaning Your Optics Correctly
Regular cleaning is non-negotiable. Always use lens-grade wipes and an appropriate cleaning solution (often isopropyl alcohol or a specialized optical cleaner). Never use abrasive materials or your fingers, as oils can leave residues.
We suggest a gentle touch. Use a blower bulb first to remove loose dust, then carefully wipe with the proper solution. You’ll be amazed at the difference a clean lens makes. Many experts say to inspect and clean your optics after every 8-10 hours of operation (Optics Info).
Material Thickness and Type Limitations
Not all wood is created equal, and not all lasers can cut all wood. Your material choice plays a huge role in your laser’s ability to cut through.
Matching Material to Your Laser’s Power
If you have a lower-wattage diode laser, cutting through 1/4 inch hardwood is likely out of its league. These lasers are often better suited for engraving or cutting very thin materials like balsa wood or paper. A more powerful CO2 laser is generally required for thicker cuts.
Always consult your laser machine’s specifications. What is its maximum cutting thickness for different materials? Pushing your machine beyond its capabilities will only lead to frustration and incomplete cuts.
Variations in Wood Density
Wood density varies wildly. A dense hardwood like maple requires significantly more laser power and slower speeds than a soft wood like pine. This is because denser woods have more material per unit volume for the laser to vaporize.
Even within the same type of wood, natural variations can occur. You might find knots or resin pockets that are harder for the laser to penetrate. This can cause inconsistent cuts, where some parts are cut perfectly and others are left untouched.
Focus Issues and Beam Alignment
A laser beam is only effective when it’s precisely focused. If your beam is out of focus or misaligned, it loses its cutting power.
Importance of Proper Focusing
Think of using a magnifying glass to start a fire. You have to hold it at just the right distance to get that tiny, intense point of light. Your laser is the same. The laser beam needs to be focused to a single, tiny point on the surface of your material for maximum energy density.
If the focus is too high or too low, the beam spreads out. This reduces the energy hitting the cutting line, leading to incomplete cuts or just surface engraving. Most lasers have a specific focal length that needs to be maintained.
Checking Your Beam Alignment
This is a more advanced troubleshooting step, but crucial. Your laser beam travels through a series of mirrors before reaching the lens. If any of these mirrors are out of alignment, the beam won’t hit the lens squarely. This can cause the beam to be off-center or lose power before it even reaches the cutting area.
Beam alignment issues often result in cuts that are strong on one side of your work area but weak on the other. This can be a tricky fix, and you might need to consult your machine’s manual or a technician. Many manufacturers provide detailed alignment procedures.
Other Factors Affecting Your Cuts
Sometimes, it’s not just one thing. Several smaller issues can combine to prevent your laser from cutting properly.
Air Assist and Exhaust System
Do you use air assist? This small but mighty feature blows air directly into the cut line. It does two important things: it helps clear away smoke and debris, and it prevents flames from engulfing the beam. Without air assist, smoke can absorb laser energy, and flames can char the edges, leading to incomplete cuts.
Your exhaust system is also important. If smoke isn’t efficiently removed, it can build up, dirtying your optics faster and reducing visibility. A good exhaust system is vital for both cut quality and safety.
Software or Firmware Glitches
It’s rare, but sometimes your software or firmware can be the problem. Incorrect settings might be saved, or there could be a communication error between your computer and the laser. We recommend restarting both your computer and laser machine. Check for any software updates, too.
If you recently updated your software, try reverting to an older version if the problem started right after the update. Sometimes, new software introduces bugs that affect performance.
Worn-Out Components
Lasers aren’t forever. Your laser tube, especially in CO2 lasers, has a finite lifespan. As it ages, its power output can decrease. If your machine used to cut perfectly and now struggles, a weakening laser tube could be the culprit.
Similarly, the lens and mirrors can degrade over time, even with proper cleaning. Scratches, pits, or coatings wearing off can all reduce efficiency. If everything else checks out, consider the age of your components.
Your Troubleshooting Checklist
Here’s a quick checklist to help you systematically work through common issues:
- Double-check power and speed settings against material type and thickness.
- Clean your laser lens and all mirrors thoroughly with proper supplies.
- Verify the laser beam is properly focused on the material’s surface.
- Confirm your air assist is on and correctly aimed at the cut line.
- Ensure your exhaust system is effectively removing smoke and debris.
- Inspect the laser tube and optics for any signs of wear or damage.
Conclusion
Finding out why your laser isn’t cutting through wood can feel like solving a puzzle, but with a systematic approach, you’ll get there. We’ve walked through the most common culprits, from perfecting your power and speed settings to keeping those optics sparkling clean and ensuring precise focus. Remember, even minor adjustments can significantly impact your cut quality.
Don’t be afraid to experiment with test cuts and consult your machine’s manual. By methodically checking each component and setting, you’ll soon achieve the clean, perfect cuts you’re looking for. Get back to creating with confidence!
Frequently Asked Questions
What’s the best way to determine optimal laser settings for a new type of wood?
We recommend creating a power/speed test grid on a scrap piece of the new wood. This involves cutting small squares or lines using different combinations of power and speed. This method helps you visually identify the settings that yield the cleanest cut without excessive charring.
Can humidity affect my laser’s cutting performance on wood?
Yes, humidity can indirectly affect your cuts. Wood absorbs moisture, which can change its density and make it harder for the laser to cut through. We found that drier wood generally cuts more predictably and with less power.
How often should I clean my laser’s lens and mirrors?
Most experts suggest inspecting and cleaning your optics after every 8-10 hours of operation, or more frequently if you’re cutting materials that produce a lot of smoke or debris. Regular cleaning maintains beam quality and extends the life of your components.
My laser cuts fine on thin wood but struggles with thicker pieces. What could be wrong?
This often points to power limitations or incorrect focus. Your laser might not have enough wattage for thicker materials, or your focal length isn’t perfectly set for the material’s thickness. You might need to make multiple passes or adjust your focus.
Is an air assist really necessary for cutting wood?
Absolutely. Air assist is crucial for wood cutting. It clears away smoke and debris from the cut path, preventing flames and minimizing charring. This results in cleaner edges and helps the laser maintain full power on the material, improving cut quality and speed.
