
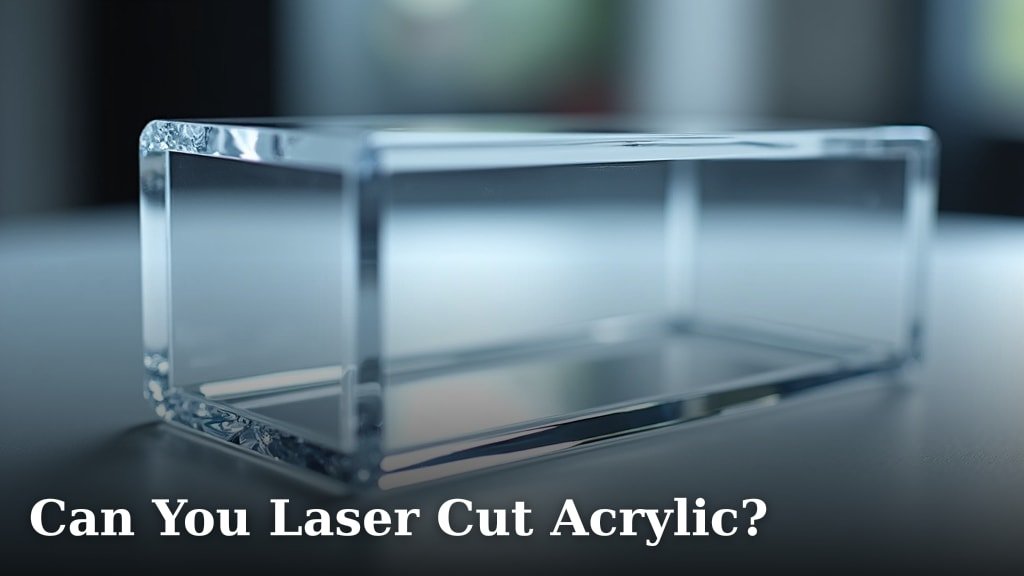
Yes, you can absolutely laser cut acrylic, and it’s one of the most popular materials for this technology! We found it handles laser cutting with impressive precision, giving you clean edges and intricate designs. Many people choose acrylic for its versatility with lasers.
When you laser cut acrylic, you get a beautiful, polished flame edge. This happens because the laser melts the material, sealing the edges as it cuts. It’s truly ideal for projects needing a professional finish directly off the machine.
TL;DR
- Laser cutting works great on acrylic.
- You get very precise cuts.
- Edges turn out shiny and polished.
- Acrylic is a top choice for laser projects.
- It’s a versatile material for many uses.
Ready to dive deeper into laser cutting acrylic? Let’s explore everything you need to know, from the benefits to the best practices for getting excellent results.
Understanding Acrylic Laser Cutting Capabilities
So, you know you can laser cut acrylic. But what does that really mean for your projects? It means you gain incredible control over shapes and finishes.
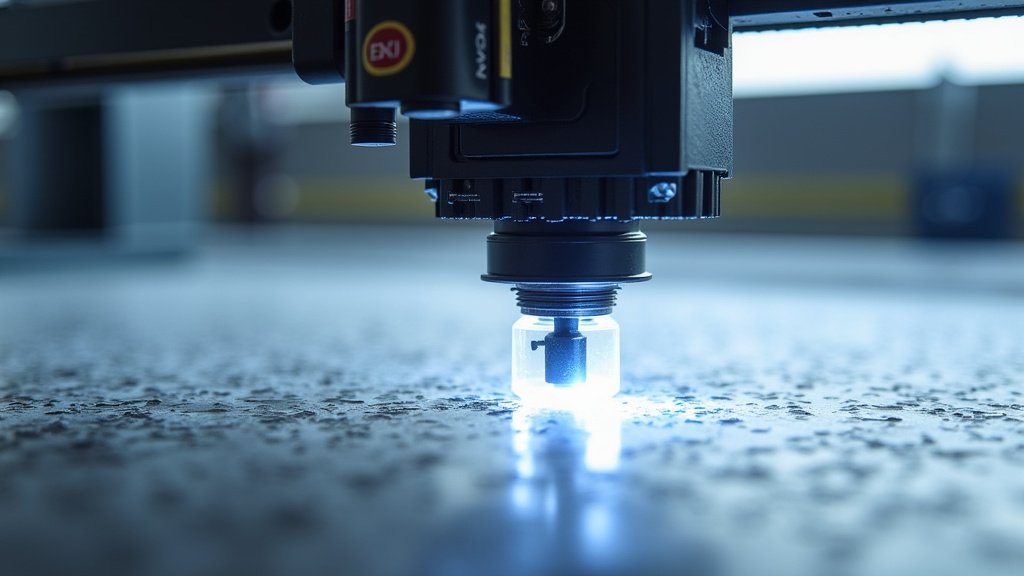
Laser cutting acrylic is a process where a concentrated beam of light melts and vaporizes the material. This precise method allows for very clean cuts and engravings, making it a favorite for many creators.
The Magic Behind the Melty Edges
Ever wonder why laser-cut acrylic edges look so smooth and shiny? It’s not magic, but it certainly looks like it! This happens because the laser’s heat instantly melts the acrylic where it cuts.
As the laser passes, the melted edges momentarily become liquid and then re-solidify. This action effectively “flame polishes” the edge, giving it that super clear, glass-like finish you often see. It’s truly a distinctive look you can’t easily get with other cutting methods.
Why Choose Acrylic for Your Laser Projects?
There are many reasons why acrylic is a go-to material for laser cutting. It offers a fantastic combination of aesthetic appeal and workability. Let’s look at some key advantages.
- Clarity and Aesthetics: Acrylic can be as clear as glass, but it’s much lighter and more impact-resistant.
- Versatility: It comes in many colors, opacities, and finishes, from transparent to frosted to mirrored.
- Durability: Acrylic is quite robust and weather-resistant, perfect for indoor and outdoor use.
- Ease of Fabrication: Beyond laser cutting, it’s easy to bend, mold, and glue acrylic.
- Safety: Unlike glass, acrylic breaks into larger, duller pieces if shattered, making it safer to handle.
Common Acrylic Types for Laser Cutting
Did you know there isn’t just one type of acrylic? For laser cutting, you’ll mainly encounter two types: cast and extruded. Knowing the difference really helps with your results!
Here’s a quick look at how they compare:
| Feature | Cast Acrylic | Extruded Acrylic |
|---|---|---|
| Manufacturing | Liquid acrylic poured into molds. | Melted acrylic pushed through a die. |
| Laser Cut Edge | Clear, polished, smooth flame edge. | Clear, but often has a slightly more “burred” or less perfect edge. |
| Engraving Quality | Frosted white appearance, good detail. | Engraves clear or becomes bubbly; less contrast. |
| Stress/Tension | Less internal stress. | More internal stress, can crack easily. |
| Cost | Generally more expensive. | Generally less expensive. |
| Thickness Consistency | More variable thickness. | Very uniform thickness. |
For most decorative or highly visual projects, you’ll likely prefer cast acrylic due to its superior edge finish and engraving quality. If budget is a key concern and edge perfection isn’t paramount, extruded might work!
What Can You Actually Make with Laser Cut Acrylic?
The possibilities with laser-cut acrylic are nearly endless! Because of its versatility and precision, you can create a huge variety of items. Think about your next project; could acrylic be the answer?
Popular Applications for Laser Cut Acrylic
We’ve seen acrylic appear in so many interesting places. From functional items to purely aesthetic pieces, it really shines when cut with a laser. What inspires you?
- Signage: From storefront signs to intricate internal office signage, acrylic offers a professional look.
- Displays: Retail product displays, museum exhibit cases, point-of-sale stands often use clear acrylic.
- Prototyping: Designers frequently use acrylic for quick, clear prototypes of new products.
- Art and Jewelry: Intricate earrings, pendants, and sculptural art pieces are commonly made from laser-cut acrylic.
- Decorative Items: Wall art, custom picture frames, awards, and personalized gifts benefit from acrylic’s finish.
- Lighting Fixtures: Acrylic can diffuse light beautifully, making it popular for custom lamps and covers.
Many artists and businesses choose laser-cut acrylic for its ability to deliver fine detail and a high-end appearance without the fragility of glass.
Achieving the Best Results: Tips for Laser Cutting Acrylic
To get those beautiful, polished edges and crisp engravings, a few key practices really help. While laser cutting is precise, optimizing your settings makes all the difference. Think of it like cooking; knowing your ingredients and oven settings is key!
Essential Settings and Considerations
Every laser cutter is a little different, and acrylic can vary slightly too. So, finding the perfect “recipe” for your machine and material is part of the fun. We found that power, speed, and focus are your main ingredients.
- Power: This determines the intensity of the laser beam. Too low, and you won’t cut through; too high, and you might get excessive melting or charring.
- Speed: How fast the laser head moves. Slower speeds create deeper cuts or engravings. For very thick acrylic, multiple passes at slower speeds might be necessary.
- Focus: This is how sharp or concentrated the laser beam is. An out-of-focus beam will produce wider, less clean cuts and fuzzy engravings.
- Air Assist: This is super important! A stream of air helps blow away melted debris, keeps your lens clean, and prevents flare-ups, especially critical for cast acrylic to get that perfect edge.
- Ventilation: Cutting acrylic produces fumes that need to be properly evacuated. Always ensure your ventilation system is working effectively for safety and air quality (OSHA guidelines emphasize this).
Starting with small test pieces is always a smart move. Think of it as a sculptor perfecting their technique before tackling the main masterpiece.
Addressing Common Challenges
Even with the right settings, you might encounter a few hiccups. Don’t worry, these are usually easy to fix!
- Rough or Frosted Edges: This often points to incorrect power/speed settings, lack of proper air assist, or using extruded acrylic where cast would be better. Adjust your settings or check your material type.
- “Melty” or Warped Sections: Too much power or too slow a speed can cause the acrylic to melt excessively, leading to deformation. Try increasing speed or decreasing power.
- Cracking: This is more common with extruded acrylic due to internal stresses. Ensuring your focus is correct and not putting too much heat into a small area can help.
- Back-Reflections: If your laser bed isn’t suitable, the laser can bounce off, marking the underside of your acrylic. Using a honeycomb bed or stand-offs can prevent this.
Remember, laser cutting is a skill you develop over time. Each adjustment brings you closer to perfection! Many online communities and forums offer helpful tips for troubleshooting specific issues too.
A Quick Checklist for Your Acrylic Laser Project
Before you hit that “start” button, run through this mental checklist. It can save you time and material! We’ve found that preparation truly minimizes headaches.
- Is your acrylic clean and free of dust or debris?
- Have you confirmed it’s cast or extruded acrylic?
- Are your laser power, speed, and focus settings optimized?
- Is the air assist working correctly and pointed at the cut?
- Is your ventilation system active and drawing fumes away?
- Have you placed a scrap piece of material underneath if needed?
Taking moments to verify these steps can make all the difference between a good cut and a great one. You’ve got this!
Conclusion
So, yes, you can definitely laser cut acrylic! We’ve found it’s a fantastic material for precision projects, offering beautiful, polished edges and incredible versatility. Whether you’re crafting signage, art, or prototypes, acrylic truly shines under the laser.
Remember to choose the right acrylic type, dial in your power and speed settings, and always use proper air assist and ventilation. By following these best practices, you can achieve professional results every time. Now go create something amazing!
Frequently Asked Questions
Can I cut very thick acrylic with a laser?
Yes, you can cut thick acrylic, but it might require more powerful laser machines or multiple passes at lower speeds. This helps prevent excessive heat buildup and ensures a clean cut.
Does laser cutting acrylic produce fumes?
Absolutely, laser cutting acrylic generates fumes. These fumes can be harmful, so proper ventilation and an exhaust system are critical for your safety and to maintain air quality.
Will the laser mark the underside of my acrylic?
It can, if the laser reflects off the cutting bed. We recommend using a honeycomb cutting bed or elevating your acrylic on stand-offs. This prevents back-reflections and keeps the underside of your material pristine.
Is cast or extruded acrylic better for laser cutting?
For most decorative projects and superior edge finish, cast acrylic is significantly better. It engraves with a lovely frosted look and provides a clearer, more polished cut edge than extruded acrylic.
What’s the ideal laser wavelength for cutting acrylic?
CO2 lasers, operating at a wavelength of 10.6 micrometers, are ideal for cutting and engraving acrylic. This wavelength is readily absorbed by acrylic, allowing for efficient and clean processing.
